* Disclaimer This post contains affiliate links. If you click them and decide to make a purchase we may receive a small commission (at no cost to you).
This time we’re going to dive deep into what exactly are in Tasks in ClickUp
What are Tasks in ClickUp?
Tasks in ClickUp are the basic units of data in — almost everything in ClickUp is defined relative to Tasks.
Tasks contain two “sub-categories” of information: Subtasks (like this that you’re in right now!) and Checklists.
Tasks store most of the data you need in order to operate throughout ClickUp.
Helpful Hint: Tasks can have Subtasks and Checklists. But within Subtasks (like this one) you can also have Checklists.
The types of information a Task can store can be grouped into three sections: Overview, Details, and Activity. (In the mobile app of ClickUp , you’ll see these terms used.)
Parts of a Task
By way of disclaimer, there’s an awesome ClickUp task explanation straight from the source right here. But, if you don’t want all those details we’ve recapped the highlights below.
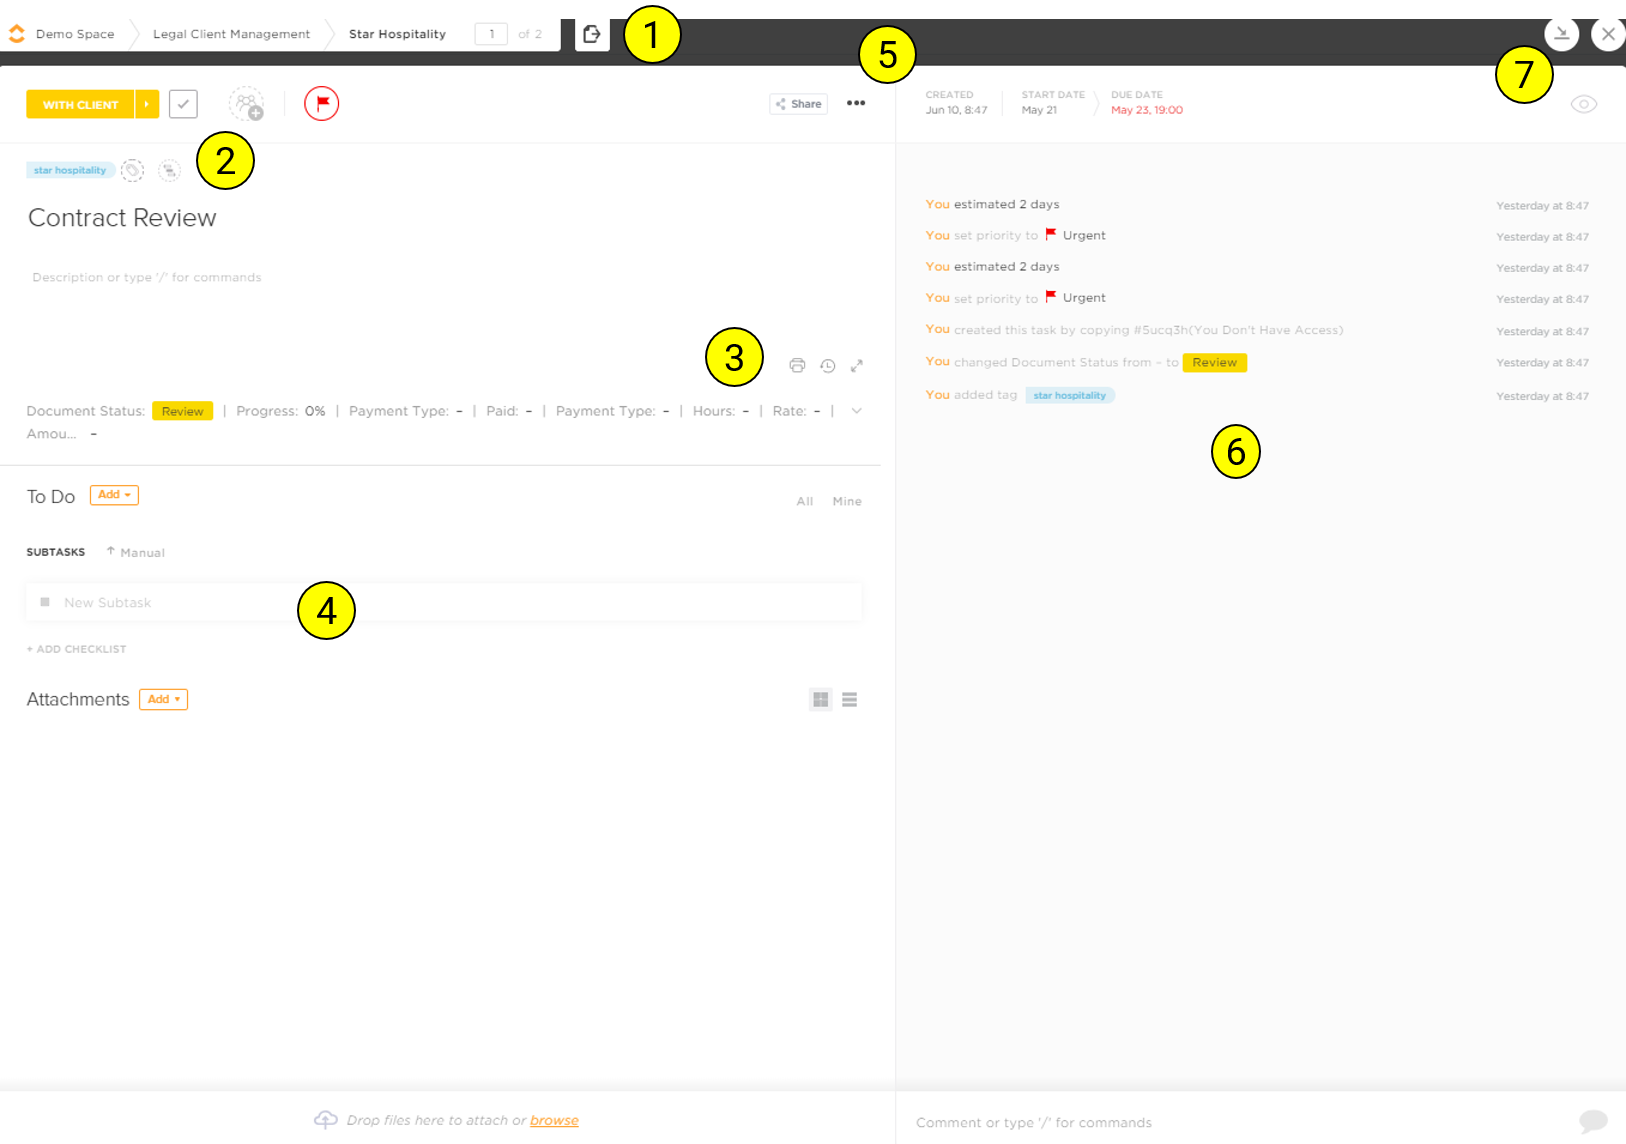
1. Location of the Task
ClickUp is organized around a hierarchy so whenever you’re in a Task, it’s great to keep an eye on exactly where you’re working. At the top of every Task (when it’s opened) you can see breadcrumbs to illustrate the Space > Folder > List you’re working in.

In this example, the Task “Contract Review” is in the List “Star Hospitality” within the Folder “Legal Client Management” within the Space “Demo Space”. The

allows you to Move the Task to a different location.
2. Upper-Left Overview Information
In the upper-left side of the Task, you’ll see the top-most corner has the option to change the Status of the task

and add an Assignee

change the Task or Subtask level of Priority

.Below that row, there’s a section for Tags which your team may or may not use.
And, next to that, there’s a tiny button for a feature called Dependencies

. Again, this may or may not be used/visible to your team. If it is visible to you, you can use this to connect this Task to other Tasks to say things like, “This Task can’t be done until this other Task is done.”
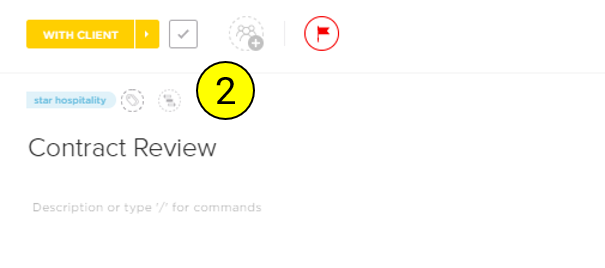
Finally, you’ll see the Task Title and Task Description. These are pretty self explanatory. In fact, you’re in a Task Description right now!
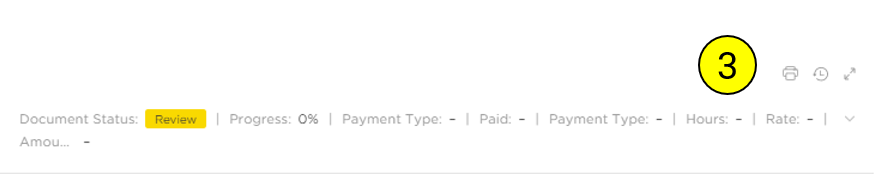
3. Custom Fields, Versions, & Printing
Below the Description of the Task, you can see all of the Custom Fields associated with this Task. By clicking on these Custom Fields, you can add additional information based on set categories your team has already designed.
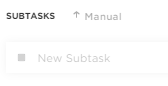
4. Subtasks, Checklists, & Attachments
On the bottom-left side of any task are additional levels of detail you can add.Subtasks are “Tasks within a Task” that have all the same features a Task would have, including Statuses, Tags, Due Dates, Assignees and Priorities. You can add Subtasks by typing into the blank space that says “New Subtask”
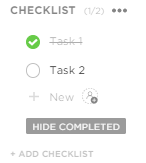
In addition to Subtasks, Tasks can also have simple field called Checklists. Every Checklist has a name and contains simple lines that you can mark complete with one click. Items on a Checklist can have an Assignee but do not have Statuses, Priorities or Due Dates. Checklists are best used for very simple Tasks.
At the bottom of the left hand side, you have the option to add Attachments by either dragging a file or clicking “Browse” to

.
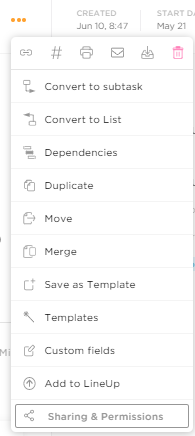
5. Sharing & Other Options
Before we transition to the right (Activity) side of the Task, let’s review the teeny tiny but oh-so-important bonus features hidden in the corner.

The Share button allows you to make an individual task public to share with other users who are not on ClickUp . Generally, you will not use this feature. Then clicking on Tasks, opens a bonus menu of additional features. This includes handy features like Duplicate, Templates, and Add to LineUp.
For full details about each of these additional Task features, click here.
6. Activity
ClickUp keeps a record of all activity on a task on the right side of the Task. This area includes all changes, updates, comments, and attachments.
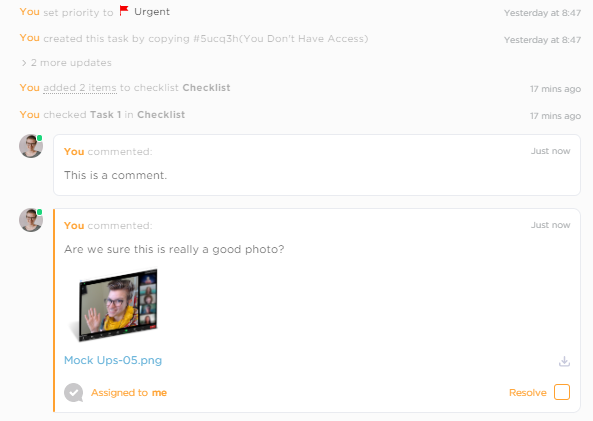
You can add a comment by typing into the bottom of this area, then clicking “Comment”.

Helpful Hint: Beyond just bold italics and underline, you can add a whole lot of fun details to text you write throughout ClickUp. Take a few minutes to explore the different options by clicking around the Comments area…there’s a lot of fun formatting options. You can also read this article for more information.
7. Dates, Watchers, & More
At the top of the Activity section, you can see the date the Task was created as well as the Start Date and the Due Date you set for the Task. Pretty self-explanatory, right?
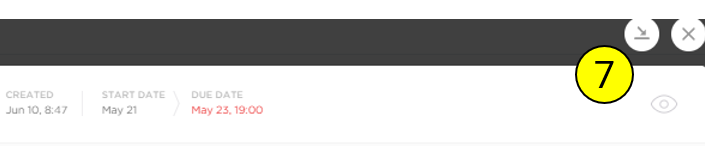
On the opposite side, you’ll see a few strange-looking icons worth further explanation:

Watchers People who will be updated when things change on the Task, but aren’t necessarily assigned to complete said Task. When someone interacts with a Task, by default they’re added as a Watcher. You can also add Watchers manually by clicking on the symbol and selecting people’s names.

Send to Tray Basically, this is like ClickUp‘s fancy form of minimizing within ClickUp.

Close This closes the Task Detail view.
Helpful Hint: We talked about the Tray in the Notifications section, but you can read about it again here.
- 3 Types of ClickUp RECURRING Tasks | Difference between Legacy Trigger, Legacy Schedule, & Simple
- How do I Order (Sort) ClickUp Tasks?

ProcessDriven helps small teams turn chaos into process. The ProcessDriven Approach™️ combines software expertise with practical process-first strategies that have helped 1,600+ teams build a scalable foundation of business systems.