
Software Selection & Tutorials
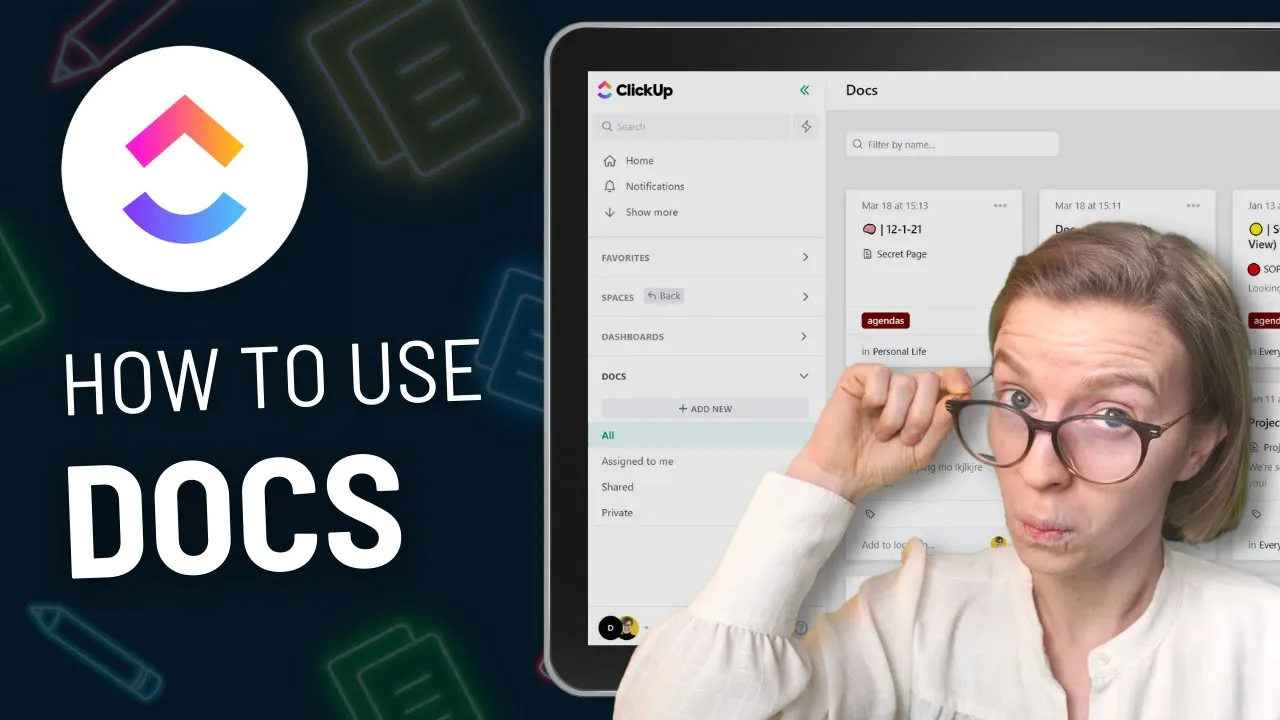
How to Use ClickUp Docs (beginner Tutorial)
Friday, April 29, 2022
This post may contain affiliate links which may compensate us at no cost to you. See details here.
Are ClickUp Docs any good? 🤔 Should you use ClickUp documents to replace Notion, Google Docs, Word, or Coda? We're about to find out! In this video, we're breaking down ClickUp Docs (aka Docs 3.0).
Are ClickUp Docs any good? 🤔 Should you use ClickUp documents to replace Notion, Google Docs, Word, or Coda? We're about to find out! In this video, we're breaking down ClickUp Docs (aka Docs 3.0).
We'll explain how to use this popular ClickUp feature and, ultimately, make a decision on which documentation tool is right for you.
Curious to try ClickUp yourself? Use our affiliate link to get started with ClickUp for free!
Let's Dive In
ClickUp came out with Docs 3.0 a while back. Does that make ClickUp Docs better than Notion? Better than Word? Better than Google Docs? Maybe. To find out, we're going through a quick rundown of what ClickUp Docs are, what they're good at, and what they're not so good at. We'll leave the ultimate decision as to whether it's the best tool for you in the end.
What is a ClickUp Doc?
Let's start off with the basics: What are ClickUp Docs (aka Docs 3.0)?

A ClickUp Doc is a cloud-based word document that we can place inside our ClickUp hierarchy and move around just like any other list. Inside this document, we can collect media, emojis, and text, and format this information with different heading styles, banners, and columns.
As the name implies, ClickUp Docs allow us to format information as a document!
Nested Pages in ClickUp Docs

Similar to other tools, we also have the ability to add sub-pages. If we wanted to add a page inside a page, we could do that with the Nested Sub-Page feature. (And, yes, you can nest multiple pages inside each other!)
Despite the fact that you are able to create pages inside your ClickUp documents, the pages themselves don't really need to exist because your documents themselves are infinitely long. You can add information to these documents and just keep adding more.
Embed Tasks & Content in ClickUp Docs

In addition to documents being able to format text, ClickUp documents have compatibility and connection to other ClickUp features, which is part of their whole "app to replace them all" philosophy.
If we type a slash ( / ) on the keyboard while we're inside a Doc, we'll see the Slash Command window. Slash Commands can allow us to format a document without the use of a mouse...and allows us to embed specialty features into our ClickUp Doc.
For example, we can use Slash Commands to embed:
List Views from elsewhere inside our ClickUp account and have it show up inside this Doc
YouTube videos into a ClickUp Doc
Editable Google Docs inside a ClickUp Doc
There are a ton of options built into this slash command menu, so you should definitely check it out!
ClickUp Doc ICON & Cover Photo

In the top corner of every document, there is a Doc Icon and Cover Image to "set a vibe" and make it clear what each Page is about.
Doc Icons can be selected by choosing either an emoji or an avatar (and color!) from the Icon menu shown above.
Cover Images can be set by selecting "Add Cover Image" and choosing from the variety of gradients, colors, and stock images available.
Both Doc Icons and Cover Images allow you to upload your own original images, too, to ensure you can make each Page suit your style.
ClickUp Doc Comments for Revisions
Commenting is built into every document. We could highlight a certain area of text and add a comment so that way people can review our edits together.

ClickUp Doc Backlinks

Next to commenting, we have Relationships where we could connect this document to tasks by creating backlinks. We have whole other video on ClickUp Relationships right here if you want to learn more.
ClickUp Doc Settings
Next up, we have ClickUp Doc Settings. Settings are all of the bonus effects that we have to help us format and organize our Doc. Let's go over some of the basics!
ClickUp Doc History & Versioning
Below the title of your actual document, you can see the (1) Author or the creator and (2) the last time the page was updated.
If you click on that update date, you'll be able to see every single change that was made to that document and even revert back to those changes (if you prefer to see things in a previous form). Therefore, you never have to save anything in a ClickUp Doc. Just like a Google Doc, everything is saved in real-time.
Nested Pages / Subpages
Below the updated date, we have subpages. This shows us any pages that are inside the Doc. We can change how Nested Pages appear by using the settings that appear when you hover over the subpage divider line.
ClickUp Doc Block Settings for Extra Options
Now, the last feature we want to highlight on the main page is the little gear that appears on certain blocks that we have dragged around.

If you click on the gears specific to certain blocks, you're going to see some bonus information show up. In this case, it's aligning our text inside the columns that we have and the option to duplicate. That's just a little bonus tip that we wanted to share!
ClickUp Doc Basic Settings: Page Width, Protect, Features
Now, once we've gotten past how cool the actual document function is, let's look over at the right side for some bonus options.

We have options around font style, size, and the actual width of the page. Below that, we have options around the header and we could add additional things like a Subtitle, Contributors, or even hide other sections that we do not need.
For example, we can turn off the Sticky Table of Contents here should we choose. We can also hide the entire subpage section that we showed you earlier. Lastly, we can choose to protect this document from editing if we wanted to.
ClickUp Doc Word Count
At the bottom of the Settings block, we see some statistics about our document, including the word count, characters, and the amount of reading time -- which is a nice little detail -- as well as the option to show that information while we're typing.

If you're a student trying to reach a certain word count for an essay, don't miss this ClickUp Doc feature!
Focus Mode
Below the stats is an option for Focus Mode. This means when you click into an area to work, everything else fades away.
In our experience using ClickUp, this tends to cause some glitches, especially when you're using collaborative editing, so we wouldn't recommend turning this on unless you absolutely need to. It tends to bog things down at this stage.
ClickUp Doc Advanced Settings: Font Size, Line Height, Paragraph Spacing
The Page Advanced Settings menu is good for people who are looking to focus on the font size piece of the equation. This gives you a bit more granularity versus just small, medium, large.
With Advanced Settings you can adjust:
Line Height
Paragraph Spacing
Page Width
Again, those same options we already discussed before, but we're just changing that top section to show us more or less detail.
ClickUp Doc Templates
Next, we have ClickUp Templates. If there are certain ClickUp Doc Templates we've created in the past, we can pull those in here!
We can also use some of the basic templates that ClickUp has created for us to save a little time and get us started on a blank page.
Export ClickUp Docs
Next to Comments, we have the ability to export a Doc Page. We can export to:
PDF
HTML
Markdown
We can also import a ClickUp Doc in the following formats:
HTML
HTML with Page Splitting
Markdown
ClickUp Doc Settings
These are a few other big-picture settings around the actual document as an entire entity. So, if you have any options that you've been looking for that weren't in the actual visual settings, they're probably going to be found here!
Settings such as Saving as a Template or Relocating a Doc.

Public Doc Sharing (to share with anyone!)
At the very bottom, you'll see the option for "Public Doc view" or "Public Sharing" of your ClickUp Doc. This is an important one for those of you who want to share this document with others!
As of right now, all ClickUp documents by default are only accessible by people inside your ClickUp. So if you're trying to talk with people who are not inside ClickUp, you can either (1) invite those people into your ClickUp (which uses up a guest seat) or (2) you can share your document publicly and provide view-only access to anyone who has the link that you share with them.
If you create a Public Doc View, anyone on the internet who finds that link can see your document...so proceed with caution!
Layla at ProcessDriven
ClickApps: Docs Home and Collaborative Editing

There are two modular ClickApps any Admin can turn on or off to change our ClickUp Doc experience: Docs Home and Collaborative Editing.
Docs Home (formerly called Docs Repository) enables the section on the left Sidebar to review all your Docs in one place.
Collaborative Editing allows multiple people to edit ClickUp content -- including Docs -- at the same time.
If you haven't gathered, we'd recommend you keep both of these ClickApps on unless you have a good reason not to!
Why would you use ClickUp docs?
ClickUp Docs are really helpful whenever you want to expand on an idea in a document format. If you only use Tasks to represent your ideas, your writing area is really limited to the Description area. While you can make it full screen and do all the same things, it's not as pretty as a Doc.
So, any time you're looking to expand in written form to get your ideas together, a Doc might be nice to use. Common use cases include things like project plans, agendas, or a note-taking system.
Mention Docs inside Tasks (Backlinks)

Don't be afraid to use ClickUp Tasks and Docs side-by-side!
For example, you can Mention your project plan inside your Task Description. This is how that kind of Relationship and backlink system start to come together!
You have your ClickUp Doc for your long-form information and then your ClickUp Task that tells you when to do things.
Layla at ProcessDriven
Pro Tip #1 Organizing ClickUp Documents
ClickUp Docs don't have folders. Although you can put documents inside your Space's Hierarchy, in the actual documents general area, there's no folder system.
If you have your documents all thrown in Docs Home, it can quickly look like a mess because everything is everywhere and you're not sure what things mean because the default name is typically Doc. To resolve that, you have some options you should take advantage of:
Option #1: The first option is to put your documents in your hierarchy by clicking on Add to location.

Option #2: Another option you have is to use the Tags option. Let's use agendas as an example.

Create a tag called Agendas and apply that to all of your agendas. This way, you can easily see them all in one place. We could then filter by our Tags to see only certain types of documents. Tags are the substitute available for folders. It's a bit of an adjustment but it is one way to organize your files in their own system.
Pro Tip #2 Doc Permissions & Sharing
Permissions with documents are set at the Doc level. We need to go in here and change what people that document is shared with.

We could make it public to our whole workspace, private, and we could share it with individual people one by one if we wanted.

This is where you're going to set your Permissions. If we had a bunch of stuff in here -- like let's say we had this page called Secret Page -- we cannot just go to one page and change those permissions to be private just on that single page. This is always going to be applied to all pages.
All pages are affected by our sharing and permissions. So if you have a secret page, it is better off to move that to its own secret document because otherwise, anyone who sees this document will see everything in it.
Should you use ClickUp Docs?
We've talked about what ClickUp Docs are, why people use them, and some pro tips along the way.
We want to turn it back to you with the ultimate question of: should you use ClickUp Docs? That's actually a pretty good segue because, even though ClickUp Docs are great, they're not for everyone.
In fact, we actually stopped using ClickUp Docs for most of our work here at ProcessDriven!
There are certain reasons why they might not be the right fit for you. So, if you're looking for a part two, watch this video here and figure out why we actually stopped using ClickUp Docs.


IF YOU'RE NOT SURE WHERE TO START, TRY