Learn to organize finances in this ClickUp Template walkthrough tour to always have a quick and easy way to reference all your financial data visually!
We’ll show you how to create this simple system to manage your subscriptions, budgets, or anything finance-related in ClickUp. We’ll also give you a sneak peek into the complete membership walkthrough of this ClickUp template.


Not a video person? No problem! We’ll cover all the main points in this article.
Can I use ClickUp as a bookkeeping or budgeting spreadsheet?
It’s no secret that there are many use cases for ClickUp.
A common request we’ve received lately is, “Can ClickUp be used as a bookkeeping database?”
We’ll admit, this led us to ask ourselves, “Can ClickUp actually be used as a bookkeeping database?”
As a result, we created a Basic Income & Expense Tracking Template available exclusively inside the ProcessDriven Membership.
However, we wanted to share some of this knowledge with our public audience, so we turned this topic into a video! We’ll discuss how users can manage their subscriptions, budget, or anything finance-related in ClickUp.
*Note: You’ll have to be on at least the Unlimited Plan to access the features we’ll be showing you today.
Let’s dive in!
To watch this explanation in video format, watch the video at the top of this article at timestamp 00:00.
Tour of our ClickUp template for income and expense tracking
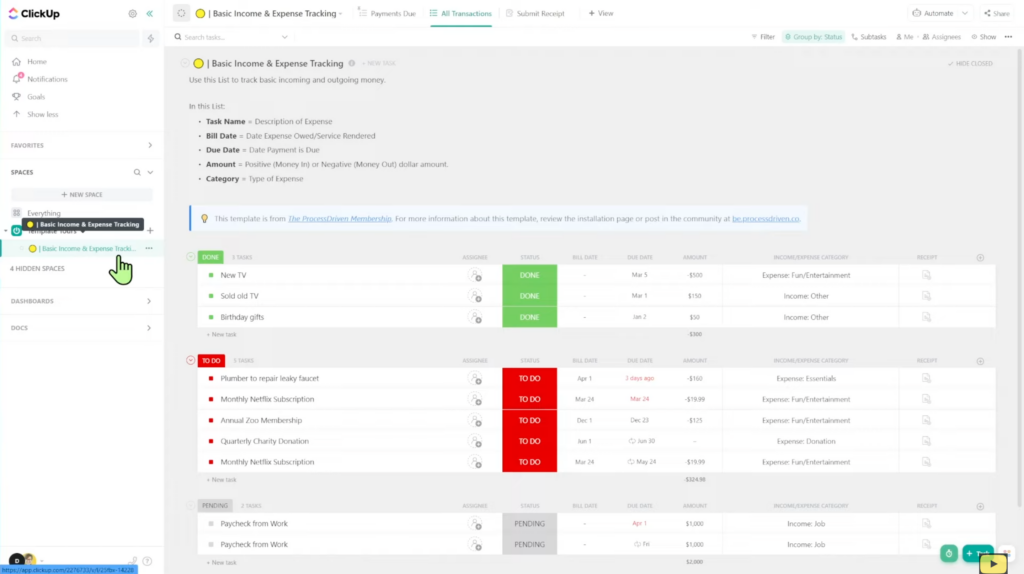
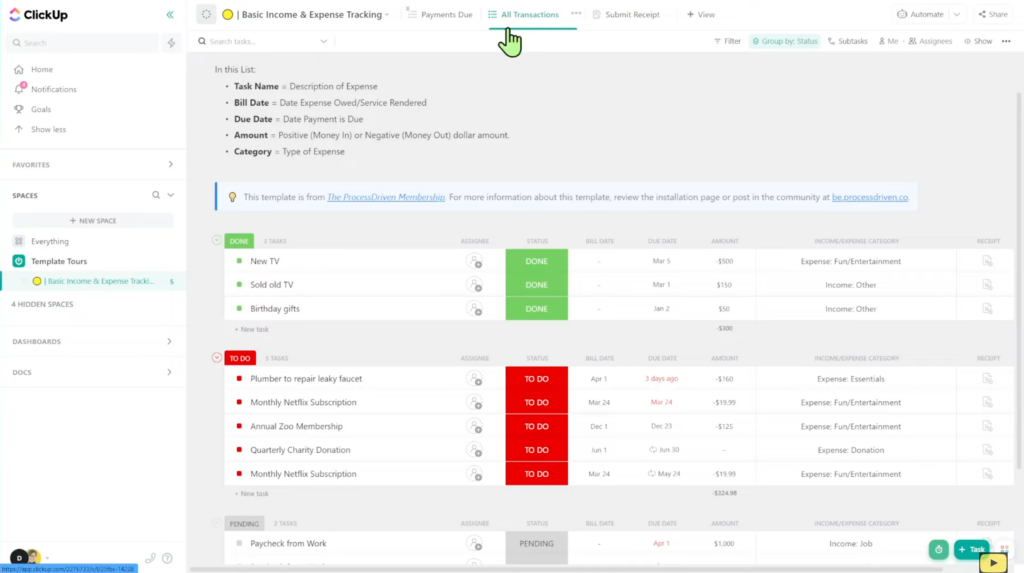
In ClickUp, we have a List Template titled Basic Income & Expense Tracking. In this List Template:
Task Name = Description of Expense
Bill Date = Date Expense Owed/Service Requested
Due Date = Date Payment is Due
Amount = Positive (Money In) or Negative (Money Out) dollar amount
Category = Type of Expense
*Note: If you’re unfamiliar with the concept of organizing data in ClickUp besides tasks, please check out our blog post, 8 types of data to organize in ClickUp (beyond just Tasks!)
To watch this explanation in video format, watch the video at the top of this article at timestamp 01:06.
How we use Custom Fields in this ClickUp template
In the last section, we discussed which custom fields go into this List Template.
Task Name, Bill Date, and Due Date are pretty straightforward. Let’s move on to Amount and Category.
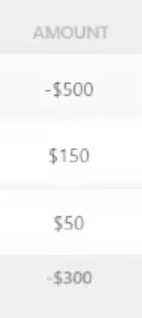
For Amount, if we’re using ClickUp, we’ll need to use negative signs ( – ) to indicate Money Out. ClickUp doesn’t (currently) have a way to reflect Money In and Money Out, so these numbers need to be in one column so ClickUp can do the math. This is the best workaround we’ve found so far.
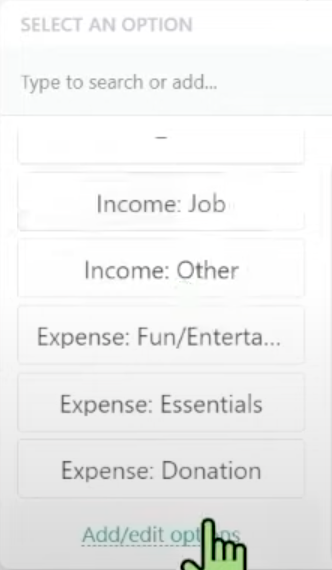
For Category, we’ll use a Dropdown Menu Custom Field where we add all our income and expense categories into one custom field. We could always edit this, add different categories, or remove any outdated ones.
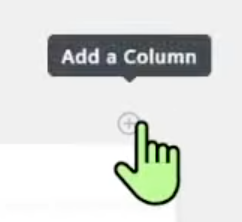
If we wanted to add more columns (custom fields) to this List Template, we simply scroll to the right, click the plus ( + ) button, and voila!
The last column to the right is the Receipt custom field, which is optional.
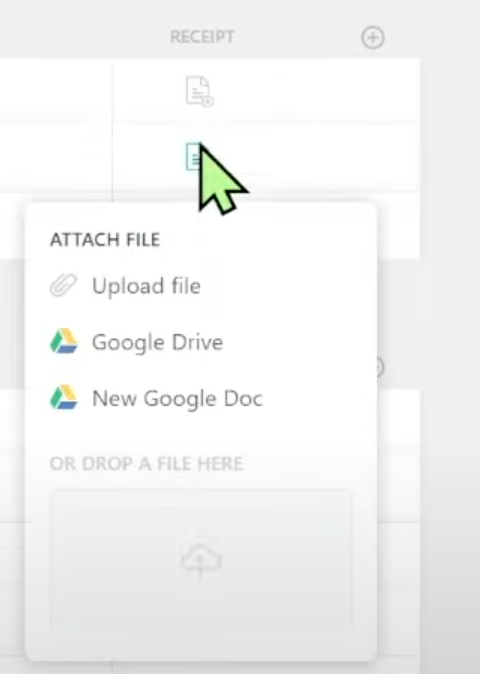
ClickUp allows us to upload the file directly, link to a Google Drive File, or create a new Google Doc. We prefer linking to a Google Drive File.
Why? We explain all the reasons in 5 Reasons NOT to upload to ClickUp.
That wraps up the main structure of this List Template to organize finances.
To watch this explanation in video format, watch the video at the top of this article at timestamp 02:00.
Are you ready to push past the ClickUp basics and start systemizing your business? Maybe it’s time you join the ProcessDriven Membership!
Using Views to Filter our budget and Group by Status
All of the information described above can be summarized in the All Transactions List View:
To the left of the All Transactions View, we have one filtered view to help us focus on specific information: the Payments Due View.
This view only shows the Expenses and not any of our Income groups. We then Group by Due Date. This allows us to see which payments are overdue and upcoming.

*Note: the Group by Due Date filter will only show things due within the next seven days. Anything beyond that will be grouped together in the Future List.
Pro Tip
In the ProcessDriven Workspace, we have a few extra steps implemented for this List Template to clean this area up. However, these are not required.
The first extra step we like to take is Hide Description:

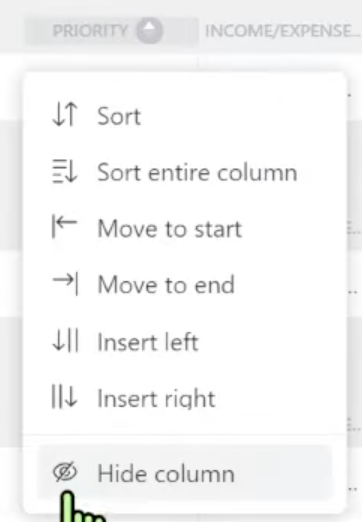
The second extra step is to hide any fields we don’t use:
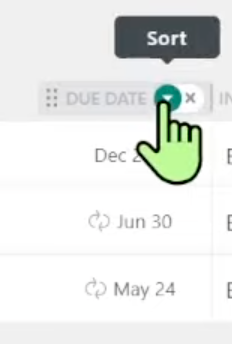
The third extra step is to organize this information in a secondary way besides just Due Date.
For example, in the Future List, we could organize first by Due Date and then sort those due dates individually in either descending or ascending order:
To watch this explanation in video format, watch the video at the top of this article at timestamp 04:18.
Using ClickUp Form View to submit receipts or expenses
The most understated feature of this List Template (and perhaps the most valuable) is the Submit Receipt Form View:
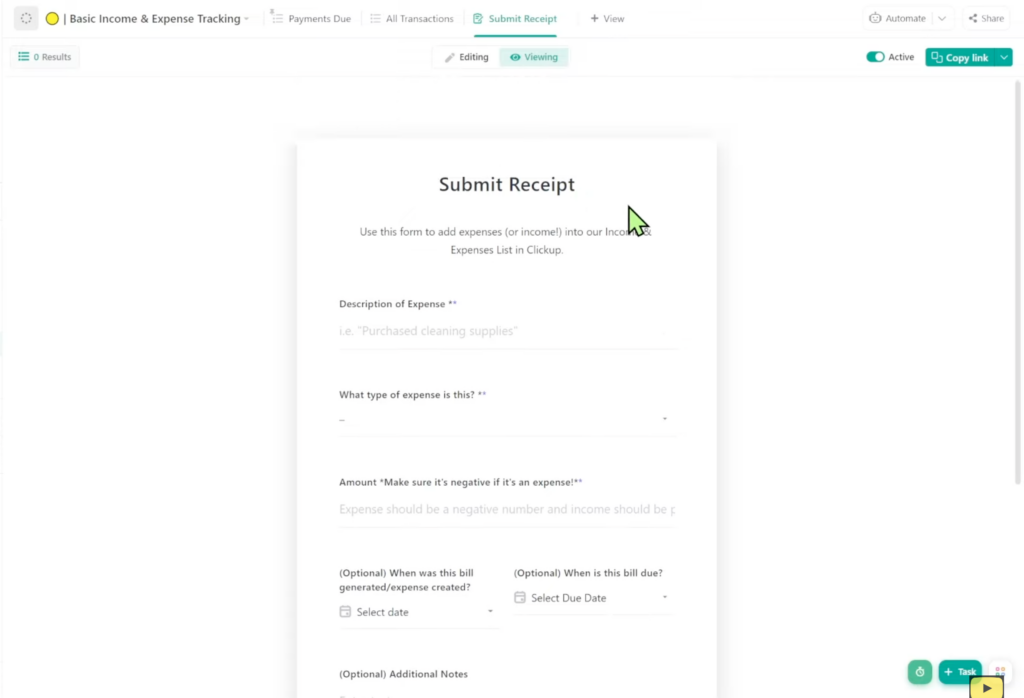
This allows us to submit receipts to add to our List on the go.
This form contains all the custom fields we mentioned in the previous sections. Since this is a Form View, we can have this automatically assign things to certain people, apply a template, or have it on our phone to share or fill out quickly.
To watch this explanation in video format, watch the video at the top of this article at timestamp 05:45.
How we use Statuses in this ClickUp template
We want to highlight one last detail about this List Template to organize finances: Statuses.
We have three statuses on this List: Pending, To Do, and Done.
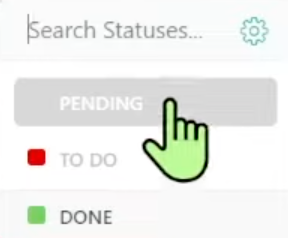
Pending = things that are coming up; examples include an upcoming bill or a paycheck.
To Do = things we know we have to take care of; for example, a bill that we’ve received but haven’t yet paid.
Done = an income or expense that has been taken care of, and no further action is required.
These simple statuses give us a visual snapshot of where things currently stand so we can quickly review our income and expenses at any given time.
To watch this explanation in video format, watch the video at the top of this article at timestamp 06:48.
Why would you track money, budget, or finances inside ClickUp? (Expense management, discretionary funds, or bill pay reminders.)
After reading all of this, we might still wonder, “Why would I need this?”
We receive a lot of requests to organize things related to money in ClickUp, so that’s why we created this template.
However, as we tell our members, ClickUp is not a bookkeeping software nor a spreadsheet.
Although we can do some basic income and expense tracking to organize finances, this is nowhere near the power we get if we use Microsoft Excel, Google Sheets, Airtable, Coda, etc.
So why would we want to have this List Template?
Reason #1
There are instances where it’s important to be able to reference our financial data alongside our ClickUp tasks.
For example, maybe we have an envelope system in our business for team development. Each team has $1,000 to spend on any training activity they want.
One team might buy an online course, and the other might invest in a consultant. Each team has small transactions that we’ll want to put in our bookkeeping tool, but we also want to provide our team with some visibility into this data.
This system is very simple, but it allows us to have basic financial information in ClickUp to give our team some insight since they don’t have access to our bookkeeping tool.
Reason #2
Another reason to have this simple system is for expense, receipt, and reimbursement management.
If our employees are using their personal funds to purchase things and submit for reimbursement, they’ll want to be able to see this information in one spot easily.
So if we don’t want them to have access to our bookkeeping tool — or we don’t have a solid expense management system — then this is a great alternative.
Reason #3
The third reason is relatively simple, and that’s if we have expenses coming up and don’t want to forget about them.
If we put all this information in a tool like QuickBooks or a spreadsheet, those tools don’t send us reminders.
By using a tool like ClickUp, we don’t have to do the manual work of going into our spreadsheet, seeing when our due dates are, and creating individual Google Calendar events every single time. This isn’t efficient.
To watch this explanation in video format, watch the video at the top of this article at timestamp 07:31.
Does ClickUp replace Quickbooks or Xero?
We want to emphasize that this List Template in no way replaces tools like Quickbooks or Xero. This template is to help us organize our finances in a visual way for quick and easy reference.
ProcessDriven Membership Members can access this ClickUp template for free!
As a reminder, if you prefer to skip all this and simply install this template in three easy clicks, then maybe you should check out the ProcessDriven Membership.
You’ll receive a lot more than just 45+ easy-to-install templates. Just sayin’. 😉
Until next time, enjoy the process!
Ready to feel fully in control of your business so you can hire, scale, or sell your business with ease? Check out ProcessDriven Foundations™️.