Setting up software to organize SOPs (standard operating procedures) can be daunting! You need a documentation software that’s cloud-based, easy to write into, and convenient for your entire team to reference throughout the work day.
In this article, we’ll demonstrate how a work management platform, SmartSuite, can be quickly transformed into a powerful software to organize SOPs & business documentation by adding Fields and adjust Record settings.
Let’s dive in!

This post contains affiliate links or sponsored content for which we may receive compensation. For details, visit https://processdriven.co/terms

Not a video person? No worries! We’ll cover all the main points in this article.
Stop relying on memory — create a centralized documentation area to organize sops!
Information about “how to work” is critical for a business to operate yet, for many teams, that information is never written down!
Whether that’s how to answer the phone, how to bookkeep, or how to send an email to a potential sponsor…it’s the “how to” content that guides teams through daily tasks. The problem is, most teams store this important information in an imperfect place: the hit-or-miss memory of human beings.
We can’t afford to have this information be forgotten or missed so, for all organizations, it’s invaluable to create a recorded backup of this “how to” information in the form of written instructions, also called standard operating procedures (SOPs).
Like a brain for our business, we can store this written documentation in a centralized area — usually in a piece of software — to allow us to continue to grow the institutional knowledge over the years. That way, even if a human is on vacation, forgetful, or disappears…the “how to” information is preserved!
In this article, we’ll explain how to create such a documentation hub for our business inside the new work management software, SmartSuite.
📌 We highly suggest you create a SmartSuite account with our affiliate link so you can follow along with this tutorial!
Add a New Solution in SmartSuite For Documentation
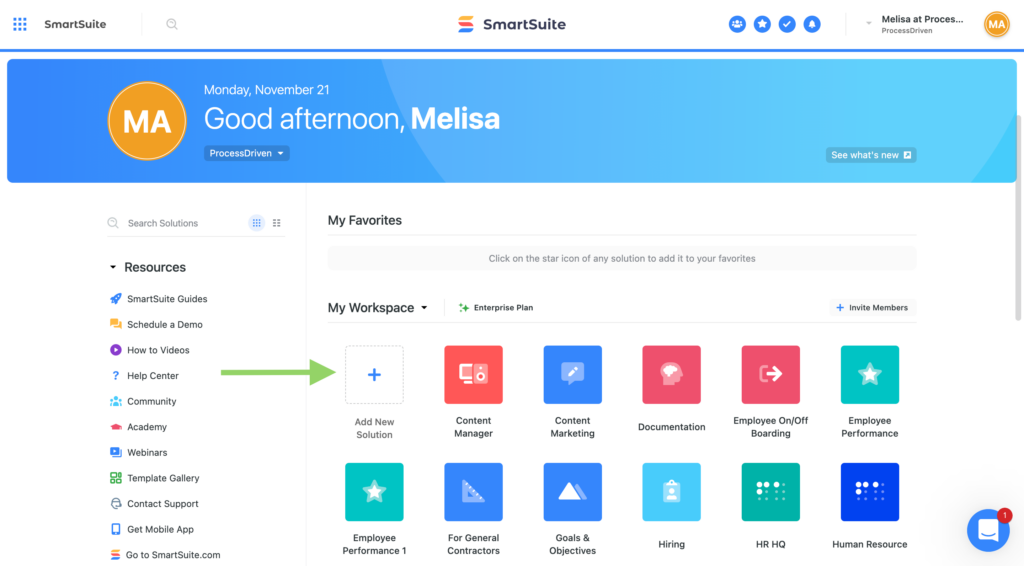
To create our documentation area, we’ll need to create a new area (called a Solution) inside of SmartSuite. To create a new SmartSuite Solution, you’ll need to log into SmartSuite and select “Add New Solution” from Home.
Step 1. Adjust SmartSuite Solution SEttings
Now that you’ve created a new Solution in SmartSuite, click on the title at the top-center of your page to adjust the Solution Settings.
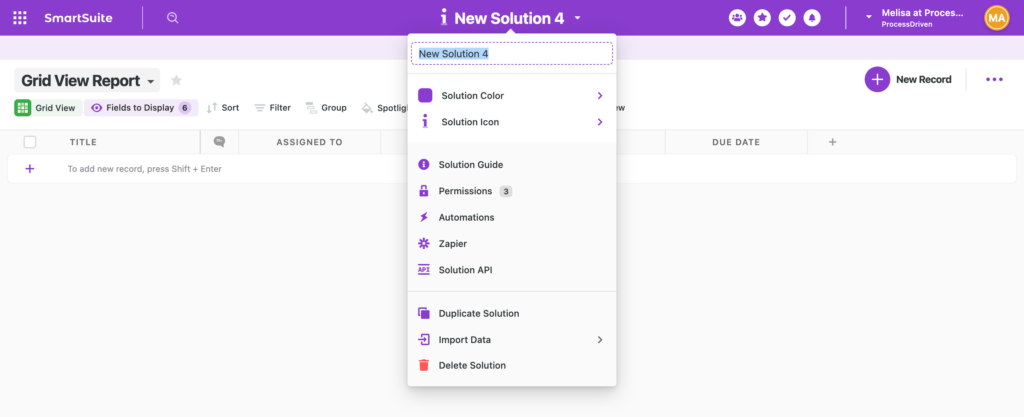
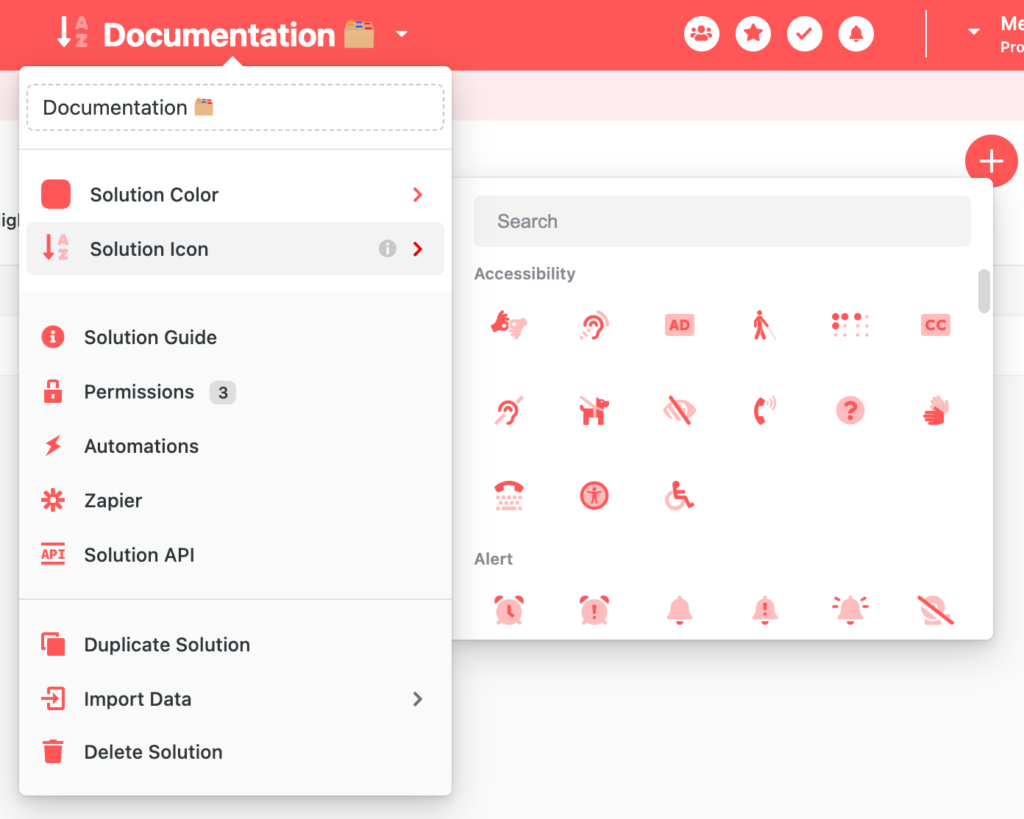
In the Solutions menu, you can adjust the name, color, icon, access settings, and more.
Once you’re satisfied with the basics, you can create your first App!
Step 2. Adjust App Settings in SmartSuite
Now that we have a Solution in SmartSuite, we’ll need to customize the App (database) to have Fields and settings to suit what we’ll need to keep our documentation organized.
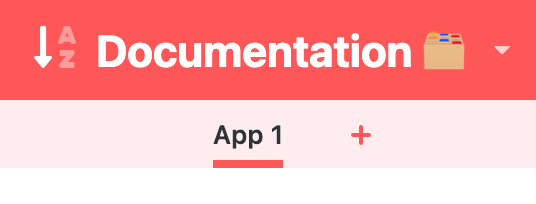
When you create a Solution from scratch in SmartSuite, you’ll see one blank default App called “App 1.”
You can think of Apps as databases that store information. Within each App are collections of Records. Records are like Tasks in ClickUp or Items in Monday.com. You can think of it like this:
Solution > App > Record
Just like we did for our Solution, we first want to rename this App. Let’s call it “SOP.”
Wait…what’s an SOP? Great question!
SOP stands for Standard Operating Procedure. You can start thinking of SOPs as recipes. If you’d like to dive deeper into what an SOP is, how to create one, and the best practices around them, check out How to Write SOPs That Your Team Will Actually Use (The Ultimate Step-by-Step Guide).
In the SOP App, the goal is to create a database of “How-to’s” for the business to organize all your SOPs. These SOPs will answer questions like,
- How do I answer the phone?
- How do I invoice a client?
- How do I send a custom quote?
The complexity of each SOP will vary, but for this tutorial, we will only focus on SOPs that are simple and require less than eight steps.
To watch this explanation in video format, watch the video at the top of this article at timestamp 01:53.
🚀 Want to try SmartSuite for yourself? Use our affiliate link to get started!
Step 3. Add Example Standard Operating Procedures
Before we start adjusting our App settings, let’s add some example SOPs so we can preview what our App will look like with real information in it later!
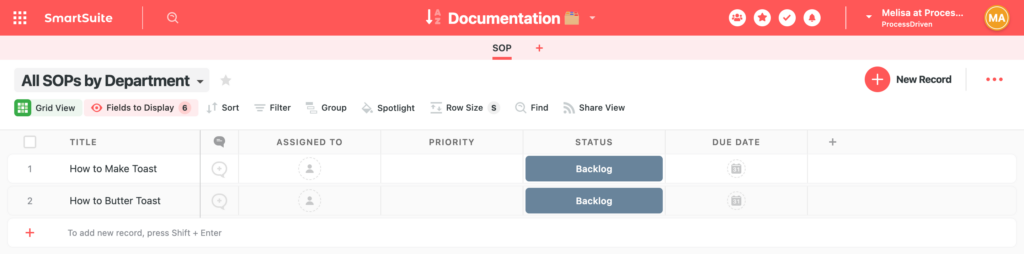
For this section, we will create sample SOPs so we have a template to use moving forward. Let’s call our first SOP “How to Make Toast” and our second one “How to Butter Toast.”
Now it’s time to mess with our data structure!
Step 4. Create SmartSuiet Fields and Update Field Settings
By default, Apps in SmartSuite have Fields like Title and Assigned To but, for our purposes, we need to adjust these Fields to match the content we’re trying to manage: documentation.
First, let’s delete the stuff that we don’t need. For example, the Fields “Priority” and “Due Date” aren’t relevant to SOPs.

The “Assigned to” and “Status” Fields stay, but we should modify them to reflect what these columns represent.
Since “Assigned to” doesn’t make sense for an instruction manual, let’s rename this Field to “SOP Owner.” On the same note, let’s change “Status” to “SOP Condition” to make it clear for our team.
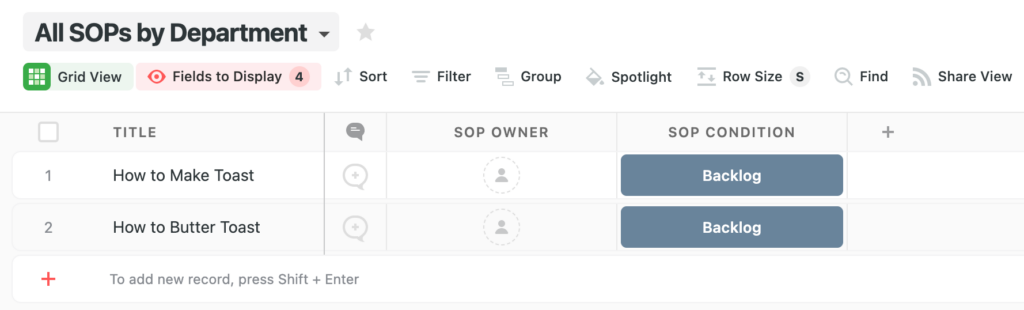
Once you’ve renamed the titles, let’s go into the SOP Condition column to modify our statuses since the default statuses in SmartSuite are more task-focused.
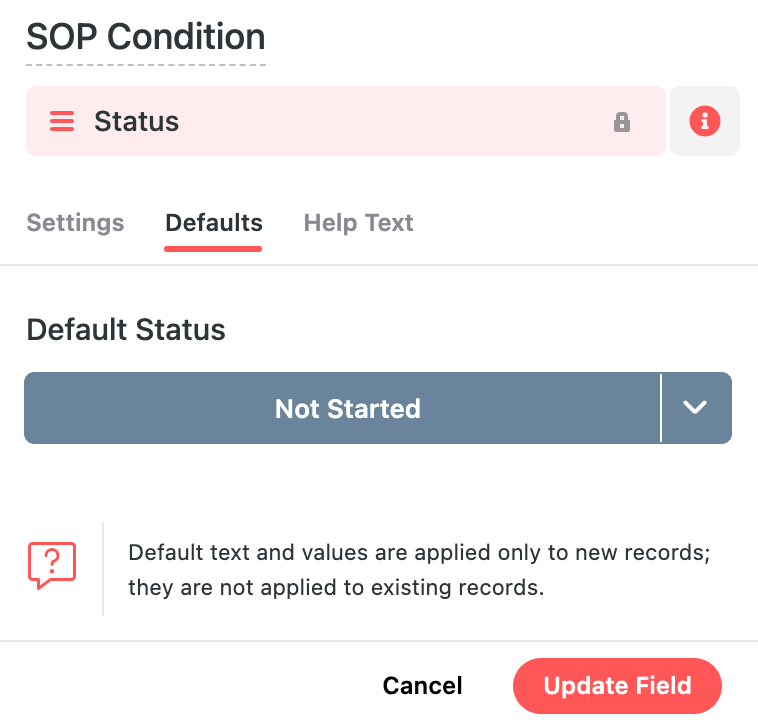
For SOPs, you’ll want to modify the Field settings to represent the SOP creation journey.
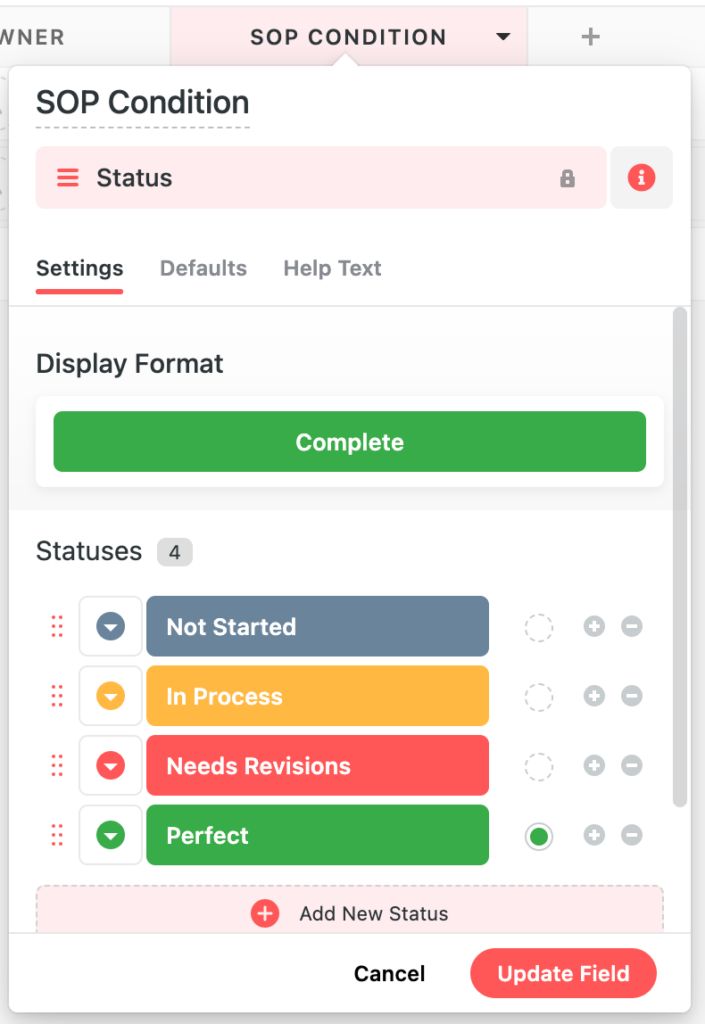
We can take this one step further and automatically add a default status to every new Record created in those Solutions.
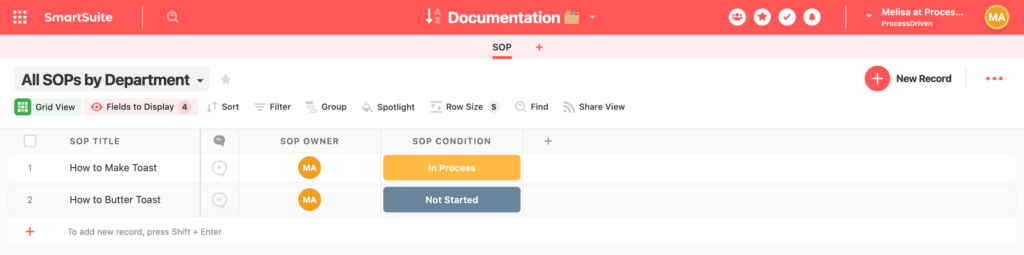
Now, our sample SOPs should have an owner and a status.
We’re not done yet! We need to rename one more column: the Title. While “Title” is pretty clear, let’s make things more straightforward for our team. Let’s name this column “SOP Title.”
Our SOP App is finally coming together!
Time to create an area to write the actual SOP!
Modify Hidden & Missing Fields to Track Procedure Contents
To write a standard operating procedure, we’ll need to open up a record and add information into the long-form text fields available.
To practice, let’s go into our “How to Make Toast” Record in SmartSuite to see what a default Record looks like.
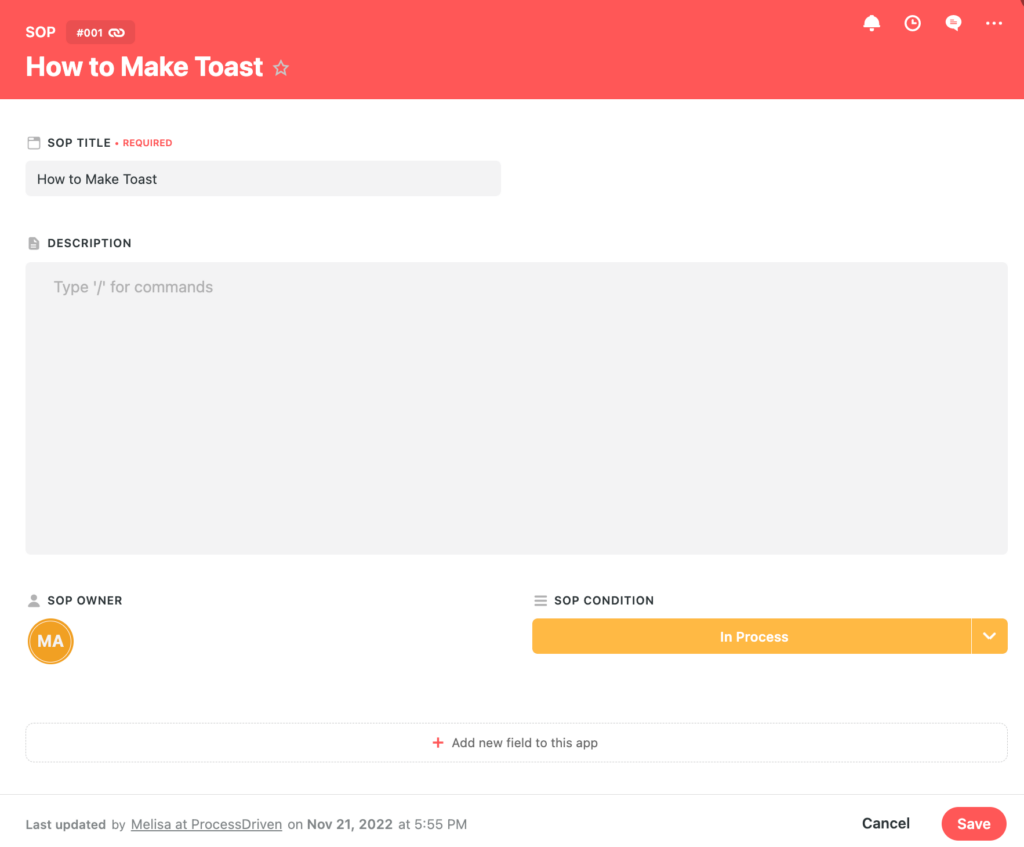
We can drag and drop Fields inside a Record to customize it to our needs. For our purposes, we’ll need to locate the “Description” area inside each Record and hover over the “…” settings menu in the top right corner of the Field and convert the Field to a “SmartDoc” field type. (This adjustment will allow us to not only add text but also formatting!)
Then, let’s rename “Description” to “Procedure” since that more accurately reflects what this Record is used for.
Finally, we need to use the available formatting options to write up a basic standard procedure structure!
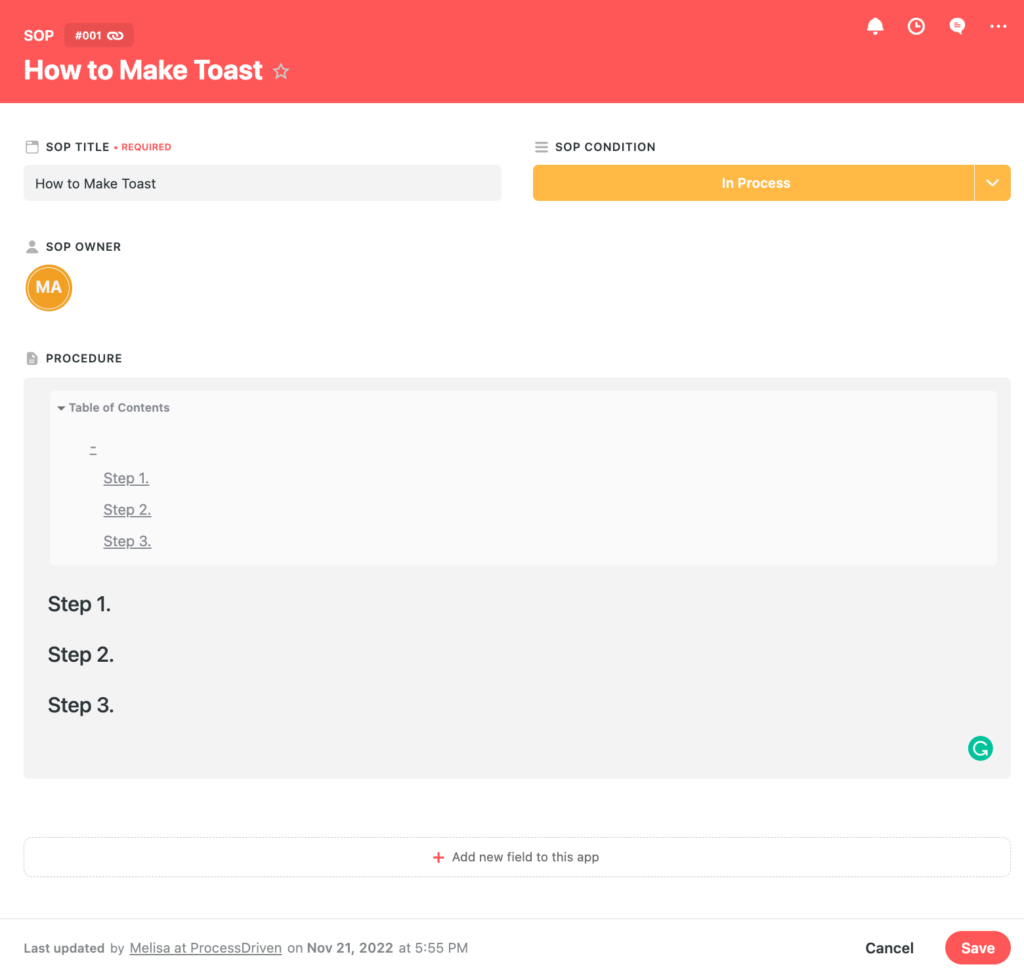
Congrats! You’ve just created a base SOP procedure.
However, this SOP outline is missing one final step: a Department category!
Add a Department Category for all SOPs in SmartSuite
As a final step of our SOP creation, let’s add a Field to categorize our documentation based on business departments. These category “buckets” allow us to group SOPs in a way that new team members will easily find.
First, select “Add new Field to this App” from the bottom of the Record. Then, choose “Multiple Select.” Now it’s time to add your departments.
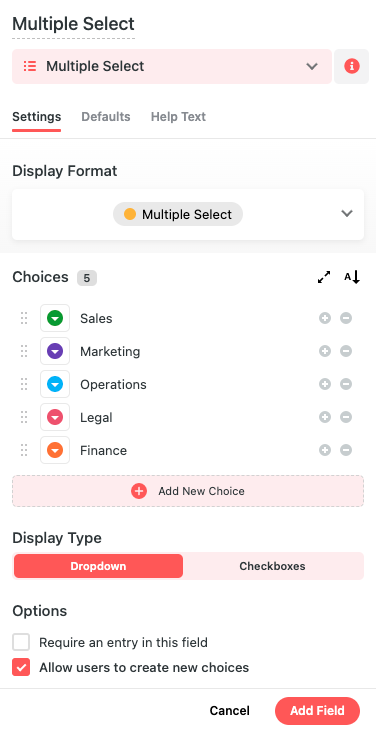
We can change the Display Format, choose to display information as a Dropdown or Checkboxes and allow users to create new choices if they want. Our Departments will now show up as Checkboxes inside each Record in this App.
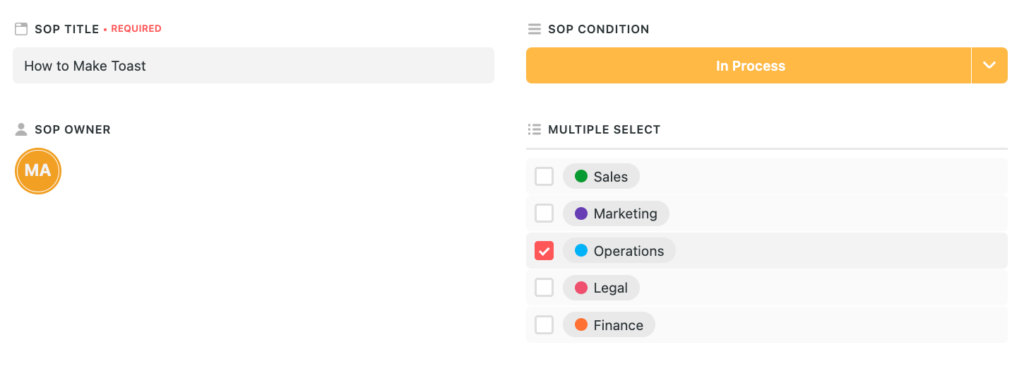
We can display the Multiple Select Field in our overview area inside the SOP App.
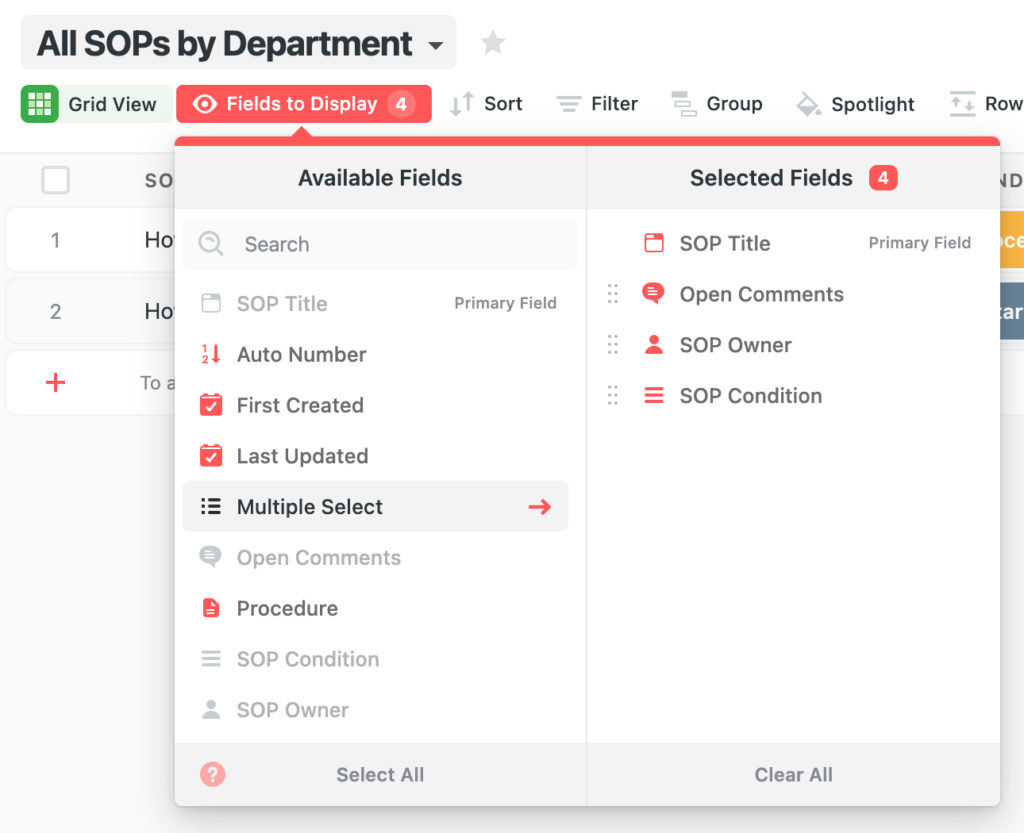
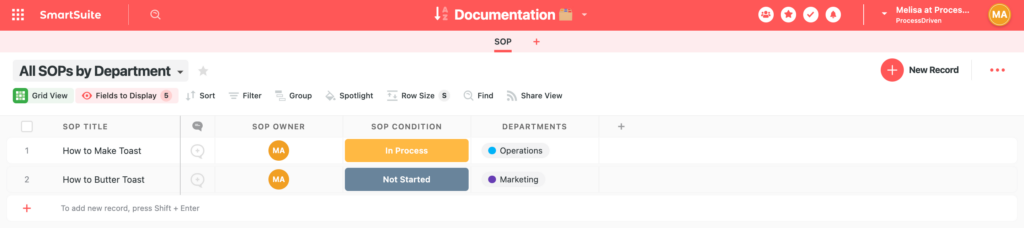
Remember to rename this Field to “Departments.” Our overview should now look like this:
Group SOPs by Department for this View
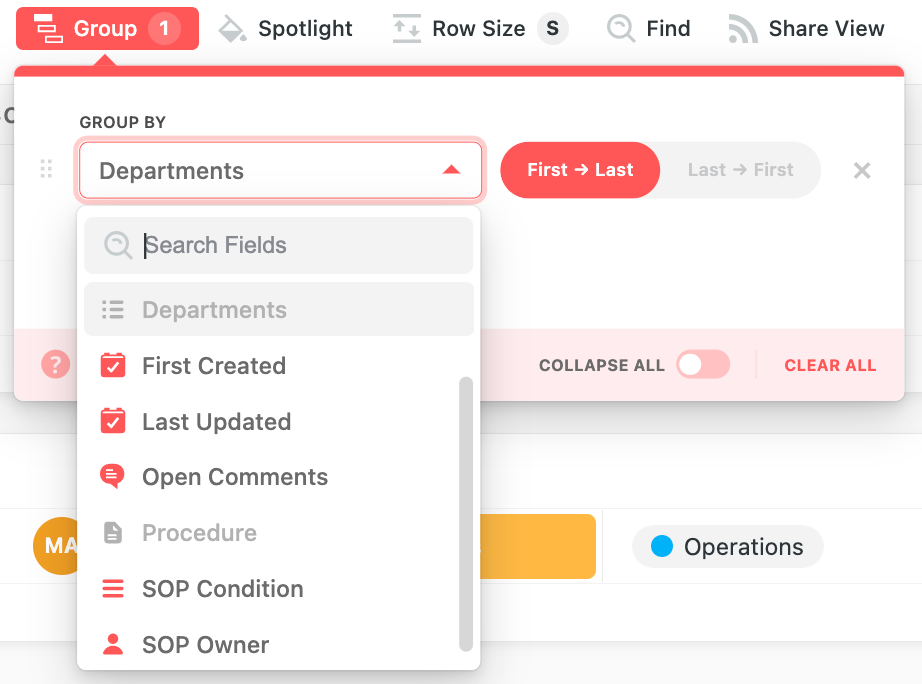
Since we chose to break up our SOPs by departments in SmartSuite, we should group them to keep our SOPs organized. Click on “Group” and select “Departments.”
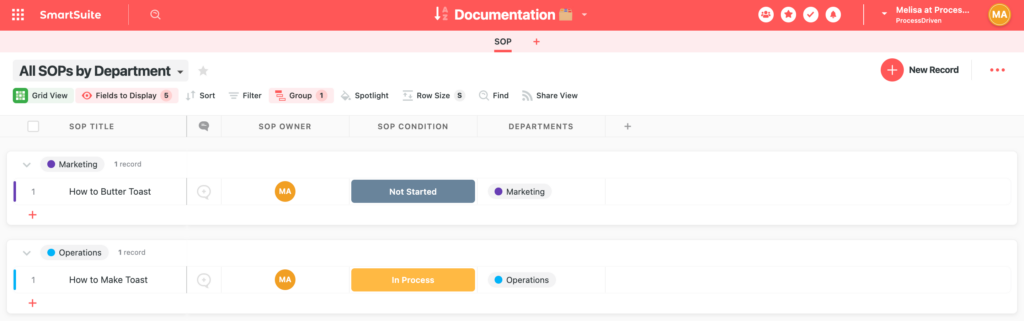
When you’re done, you should see your View magically transformed into clear horizontal sections per Department value.
(Optional) Add Additional Apps for Market Research, Wikis, and Other Documentation
SOPs aren’t the only type of documentation we have available to us in SmartSuite. We can add additional Apps for different things we want to document.
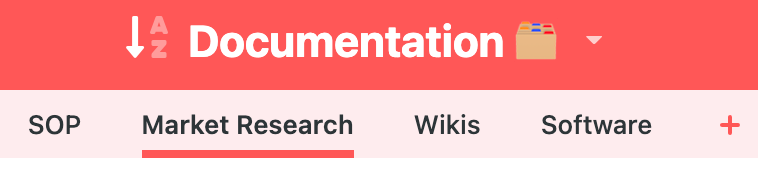
For example, you can create an App for “Market Research” to track all the articles you like to read. You can create a “Wikis” App for general topics you want to dump here.
You can add as many Apps as your heart desires!
This Documentation hub in SmartSuite ensures all your sops are never lost
In summary, using software to organize your SOPs in SmartSuite will ensure that your documentation hub lives far beyond any particular employee, founder, or owner’s memory.
Until next time, enjoy the process!
Ready to transform the way you create and manage SOPs? Unlock your FREE SmartSuite SOP Template and embark on a smooth documentation journey today! 👌