
Software Selection & Tutorials
How Do I Setup a Zoom Account? [the Complete Guide]
Tuesday, March 31, 2020
This post may contain affiliate links which may compensate us at no cost to you. See details here.
So you've sorted through the online video conferencing options like Skype, Google Hangouts, and Facetime and realized that Zoom is the right choice for your organization. Great! Now you just need to s
So you've sorted through the online video conferencing options like Skype, Google Hangouts, and Facetime and realized that Zoom is the right choice for your organization. Great! Now you just need to set it up!
1. Create your Zoom account.
Just like any other software, the Zoom setup begins with creating an account.
When you go to Zoom's website (or just search "Zoom" in your search bar) you'll be taken to their homepage.
To create your account, click on the "Sign Up, It's Free" button in the top-right corner.

When you do so, you will have three options for how you can create your account.
You can create an account using an email address and a password.
You can "login" to a Zoom account using your Google account credentials. Your Google login information will then work for Zoom as well -- no need for extra passwords.
You can "login" to a Zoom account using your Facebook account credentials. Your Facebook login information will then work for Zoom as well -- no need for extra passwords.
If you're not a Google or Facebook user...or if this step just confuses you, go ahead and put your email address in the field and then click Sign Up.

When you sign up, Zoom will send you a confirmation email to the email address you input. Look for it in your inbox and, when you find it, click Activate Account to press on!

You'll be taken to a webpage to finish registering your account.
The first page will asks you to complete your personal information for Account Info. Be sure to accurately complete this step.
Then, it'll ask you to Invite your Colleagues. I would encourage you to skip this step using the grey button that says Skip this step.
Finally, it'll show you a page with the link to start a test meeting. For now, ignore the test and instead click the Go To My Account button. We're going to fix up your settings!
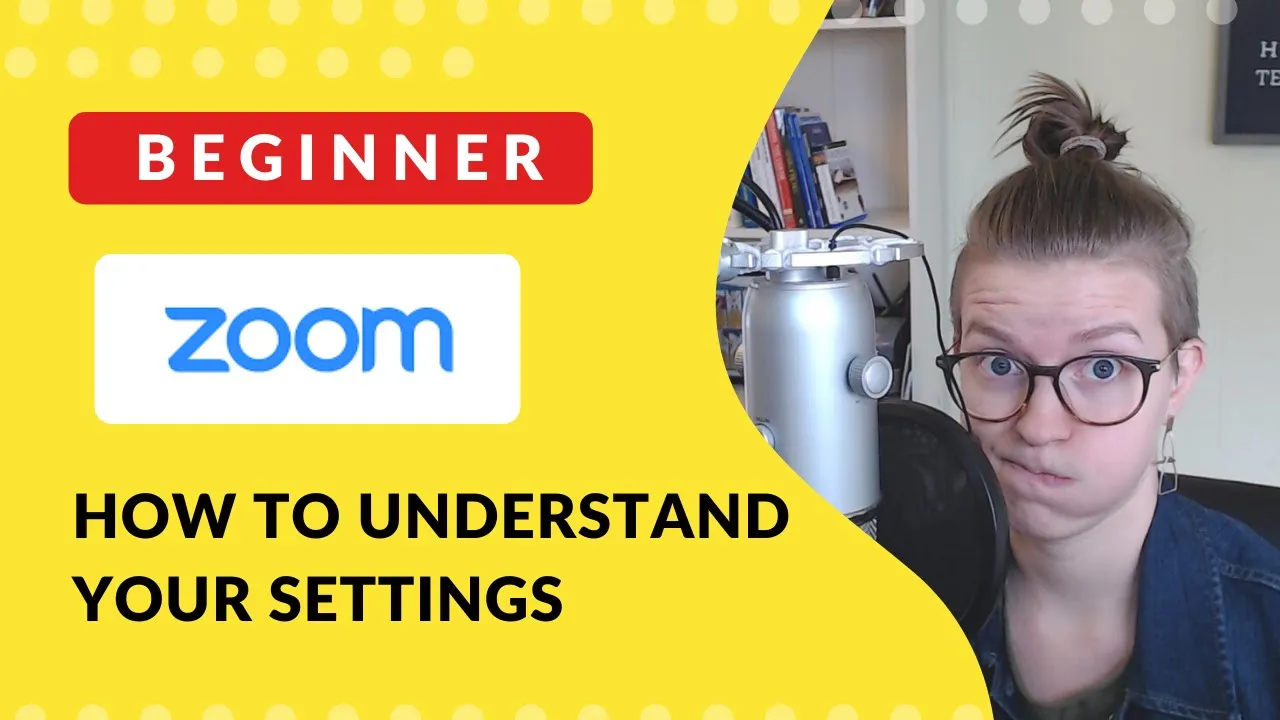
2. Adjust your Zoom Settings
In your account, you'll dive head-first in to the labyrinth of settings in Zoom. Have no fear! In this step, we're just going to fix up some of the essentials.
Personal Profile
The first tab of settings (which is what you see when you first open the page) is your Profile. Here, we want to make a few adjustments.

Click "Change" on the profile image to upload a profile photo. Zoom's file size limit is 2M which is very small.
If you're struggling to find a photo small enough but don't know how to shrink the file size, a shortcut is to open a social network (like Facebook) and search for yourself. If you right click on your profile image in the search results and click "Save Image As..." you'll download a tiny version of your profile image.
Pretty easy, right?Locate your Personal Meeting ID URL and ensure you save that link for easy reference later. I recommend you add it to your Bookmarks (Chrome) or Favorites (Internet Explorer).
Settings
Now, we want to navigate to the Settings tab for your account.

There are a TON of settings in Zoom and very few include good explanations of the "why and what" of turning them on or off. So, to help you walk through them, I'll be including a YouTube video below with a not-so-quick tour!
My Full Settings Walkthrough on YouTube:
This post may include affiliate links, meaning we might earn a commission. For more details, check out our terms.
( Watch directly on YouTube at: )
Once your Zoom settings are calibrated, you're good to start scheduling meetings!
3. Schedule (or start) a Zoom Meeting!
Once your account is properly configured, you're ready to start hosting a Zoom meeting! Let's make sure you're ready before you go live.
Make sure you have the proper equipment for a video call.
Video calls have the same needs as all video work: good lighting, a functioning camera, and solid audio (for you to speak and to hear others speak). Don't let that scare you, though!
Here are some easy ways to check each of these boxes:
Light is easy to solve by moving your desk (or chair)so that you are facing a window while on video. Cloudy days provide the best, most-even, lighting.
If you don't have any windows accessible, a cheap ring light can be worth picking up online!Cameras are often built into laptops, Chromebooks and phones. If you use any of these devices, you're good to go!
If you're trying to use a desktop computer (without a camera built-in) consider investing in a webcam. A basic Logitech webcam is available online or in stores and will plug directly into the USB port on your computer.Audio can seem like a difficult area...but we don't have to over-complicate it! Most webcams, built-in webcams, and phone camera include a basic microphone included.
In public? Just plug in a basic pair of headphones that have a microphone built-in and you're good to go!
Schedule your video call like any other meeting.
You don't have to get fancy when it comes to scheduling your virtual meeting. To start, just schedule a meeting like you normally would -- whether that means creating a calendar event on Outlook or just texting to confirm dates/times.
When you need to set the location for your meeting, just paste the URL for your Personal Meeting Room that we bookmarked earlier. That's it!
Just the link is enough for anyone to join you in a meeting.
Join your meeting early to test it out.
As your meeting time approaches, you'll want to join to Zoom meeting room at least 15 minutes early to make sure you have Zoom installed properly and to confirm everything is comfortable.
To join your meeting as a host, you'll want to login, go to your Personal Meeting Room ID URL that we saved earlier.
Click Download & Run Zoom to install Zoom onto your computer. This is a one-time process that takes a few minutes. It will download an .exe file to your computer.
When the .exe file downloads, open it to finish installing Zoom.
Once Zoom is installed, you'll need to login to the downloaded app with your Zoom credentials. If you are not already logged in, you'll need to login to Zoom to start the meeting. (Because you're the host and the host always needs to be logged in!)
You're in! Be sure to practice this a few times if you run into any hiccups.


IF YOU'RE NOT SURE WHERE TO START, TRY