Searching for an SOP example? Finding a ton of information, all pointing to the end claim that “this is going to take hours to complete”?
We’re here to tell you, SOPs shouldn’t take hours upon hours to create – if you’re doing them the right way. 😏
In this post, we’re going over a simple 3-step Standard Operating Procedure guideline that can help you create SOPs faster, more efficiently, and with minimal effort.
Building your SOP Template

We’re here to dismantle the myth that business owners need to be spending hours upon hours writing out an SOP.
Instead, in just a few short simple steps, you can create a simple standard operating procedure so you can get back to working on your top priorities – like implementing those processes you’ve worked so hard to document.
Define your starting and stopping point
Instead of spending hours writing down every step of your SOP from scratch, do this: first define where it starts and stops.
Meaning, when does a process start and when does it end. Having the beginning and the end in mind will help you start to fill in all of the details in between.
Overall, your SOP should represent a process that can be done all in one sitting (roughly 90 minutes, give or take). If it can’t, it’s most likely two separate processes.
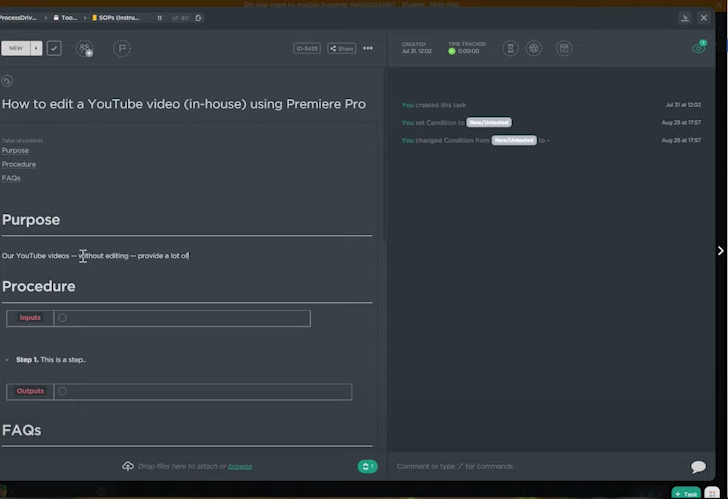
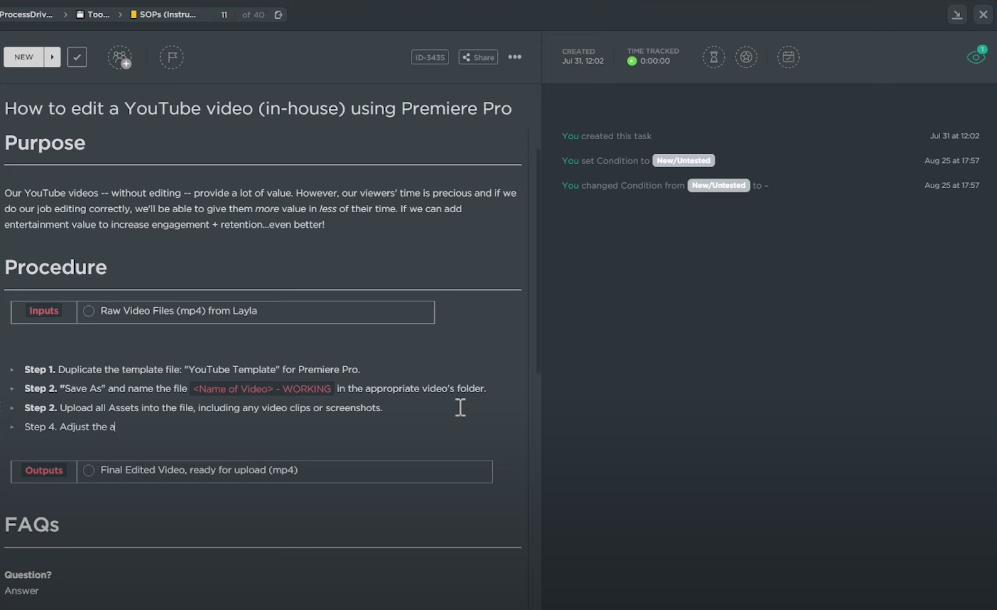
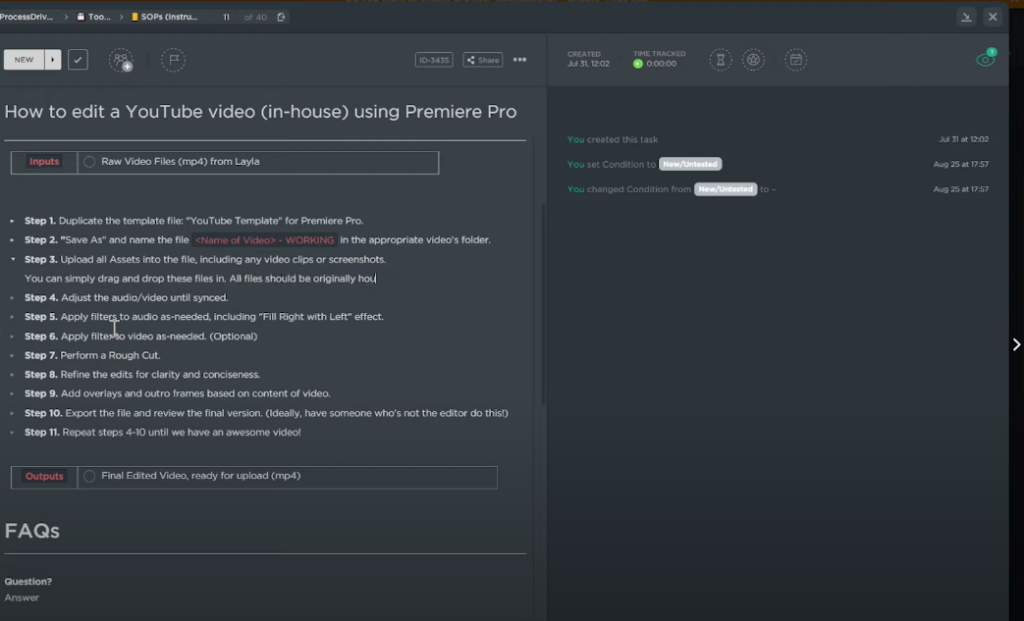
Let’s continue by going over a basic template. For this SOP example, let’s say we want to create an SOP example of how to edit a YouTube video in Premiere Pro.
(If you want an in-depth look at a template we recommend, check out this post: Systemize any workflow in your business.)
Need some guidance creating SOPs for your team? Download our 109 Time-Saving SOPs Every Team Needs Checklist!
Outlining the major steps of each sub-process – individually and in smaller chunks

The “start” of this process: you receive a video to edit. The “stop” is that there is now a finalized YouTube channel ready to go.
This can help makes things much easier as you continue to document your process by creating SOPs. While the entire process (such as uploading a YouTube video from idea to published) can consist of multiple SOPs, we’re focusing on your sub-process at a time here.
Now that you have the start and the top points, it’s time to go through and outline the major steps in the process.
A great tip for outlining an SOP is to do the process as you’re writing it. That way, you can put in steps you might overlook if you were to explain just on a whim.
If you have a team, ideally, you will have both the “expert” and the person who will be doing the actual task – collaborating on putting the steps together. That way, they’re clear and easy to follow for everyone.
Want more info on who should write the SOPs in your business? Check out this post!
Adding the details of the process for clarity (and delegating who does what!)

At this point in this SOP example, you should have your start and stop point, major steps, and input from the team members/expert.
In general, you’ll want to put more text than you might need since it’s much easier to edit them out than remember the ideas to add later.
Filling in the blanks
Now that you have everything in the SOP, you’ll want to make sure you use it the next time you do this process.
That way, you’ll be able to see any missing steps or extra parts that need to be added. This could take you five to ten minutes. All in all, you can see that it should just take a few extra minutes to make sure it’s ready to go.
Need some guidance creating SOPs for your team? Download our 109 Time-Saving SOPs Every Team Needs Checklist!
