
Software Selection & Tutorials
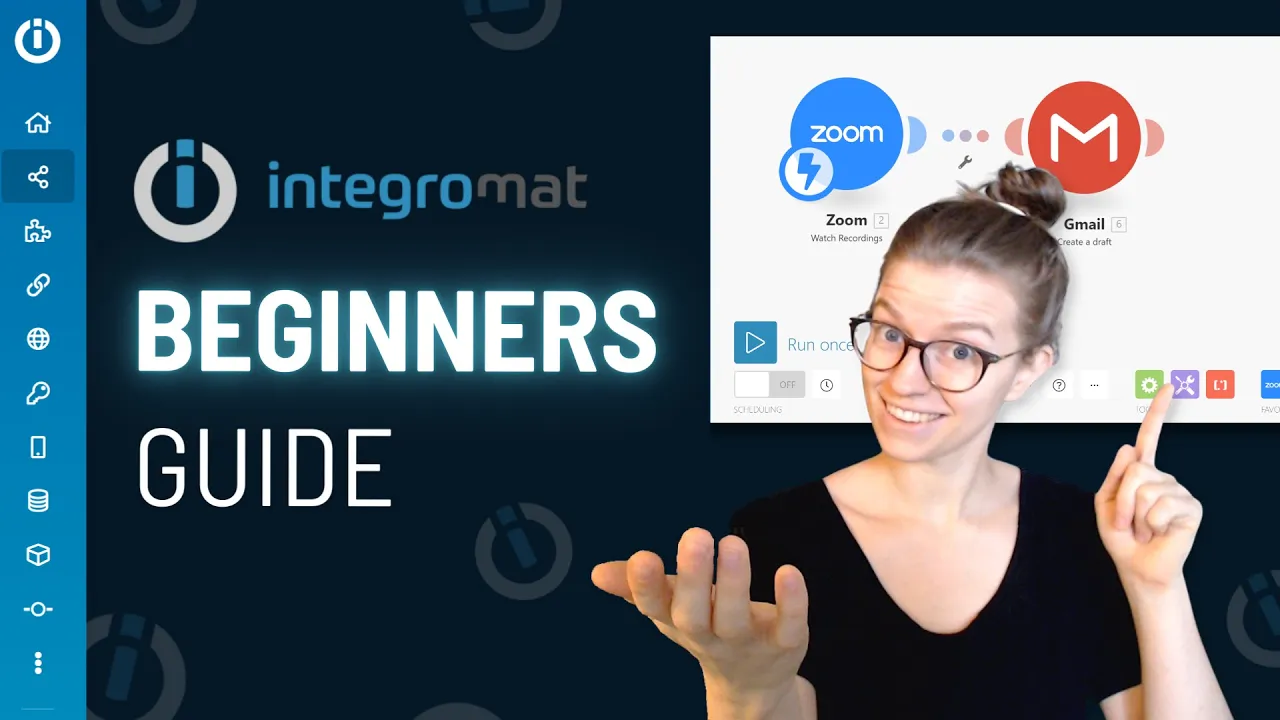
Integromat Tutorial for Beginners: Build Scenarios Easily
Friday, November 26, 2021
This post may contain affiliate links which may compensate us at no cost to you. See details here.
This beginner Integromat tutorial will show you how to build your first Integromat scenario to automate a simple workflow using Zoom and Gmail.
🔗 Want to try Integromat? Use our affiliate link and get a free month's trial of their fancy-schmancy Pro Plan.
We'll explain key Integromat terms like: Modules (Triggers and Actions), Module Settings, Routers, Filters, and (of course!) how to troubleshoot a beginner Integromat automation.
What is Integromat and why should you use it?
If you have never used an automation tool in your entire life, we are here to walk you through what Integromat is and how you can use it.
For this tutorial, we suggest you open Integromat and walk through this example with both tabs available, so you can follow along with us. If you need to see it in action, be sure to watch the video above!
Integromat is essentially a tool that helps you automate your workflows. The ultimate goal is to take information from your cloud software and connect them to each other.
For example, Gmail and Quickbooks collect data and then have the two communicate with each other so you're not left to manually entire information from one platform to another. Sounds amazing, right?
So, if you created a new contact in one platform, that data could be sent to another platform and submitted automatically without you having to manually go in and re-type everything.
This is just one example of the possibilities that you can create within an automation service like Integromat!
Layla walks through how we incorporate Integromat into our workflow starting at 00:45.
What tools can I integrate with Integromat?
There are so many tools that can integrate with Integromat. Almost anything you currently use can be brought in and automated.
It can't send absolutely everything, but as soon as you select a tool, you are able to see which triggers and actions you can do with each one.
Check out more tools you can integrate starting at 02:32.
Creating a (free!) Integromat account
If you haven't created an account, we have the ultimate hookup for you! Instead of just getting the regular free plan, with our link you're able to get the Standard plan for a whole month trial: sign up here!
Learn more at 03:14.
Example Integromat scenario: Automatically send completed Zoom recordings to attendees

Once you've signed up, you'll be brought to your Dashboard. The main areas we want to focus on today are Dashboard and Connections.
In this example, we're going to set up an automation where your Zoom meeting attendees are automatically sent a link when you're done with your Zoom recording. You'll want to start by clicking Connections. You'll see the above image, and you'll want to click on that giant plus button and select Zoom.
Once you do that, you'll see a long selection of possible options.
Pro tip: you can search by keywords so you can see if they have what you need.
If you type "Recordings", you'll see all the possible options around recordings you make on Zoom. For this particular scenario, select "watch recordings". Now, you'll be prompted to connect your Zoom account.
Take a deeper dive into this example Integromat scenario starting at 03:42.
Connecting your Zoom account
The term "webhook" is just a fancy Integromat way of saying "a connection".
Make sure to give it a descriptive name since you can connect multiple webhooks to one Integromat account!
Follow the simple steps to connect your account. Once you do, you'll be prompted to select the types of events you want Integromat to look for. Select "Recording Completed". Be sure to hit Save!
Learn more about creating webhooks inside Integromat starting at 06:28.
Automatically sending information from Zoom to Gmail
Great, so now that we have Zoom connected, we have Integromat watching our Zoom account for any recordings and collecting them as they finish -- let's move on to Gmail!
This is how you'll send the email once the Zoom recording is finished.
Just to keep things simple, and to make sure you understand the workflow, we're going to focus on having Gmail create a draft. That way, you can understand how this all works and what it can do before you are accidentally sending a ton of emails out.
Pro tip: If you see an asterisk with one of your connections, that means it is not fully set up yet.
You'll need to connect your Google account just as you did with your Zoom account. Then select the "Create a Draft" option for where you want the email to go.
Take a deeper dive into setting up the Gmail webhook here starting at 08:17.
Using dynamic data to keep your process simple

Inside Integromat, each webhook you create collects data. This data is then pulled into dynamic fields inside each webhook for you to choose from when developing your triggers and action steps.
In the above image, you can see an example of what this dynamic data looks like (we're looking at the options given in blue here). Think of each of them as a header you'd see in an Excel spreadsheet. Each piece of dynamic data is a given type of data that would change with each new automation.
For example, here we chose to manually type "Recording" as the subject (so each email recipient knows it's a recording), and then used the dynamic timestamp field. That way, it will pull in the unique timestamp from each specific recording, since that data will change with each run of this automation.
In the Content, choose "Download URL". That way, they get the link to the specific, finished Zoom recording.
Learn more about dynamic data fields inside Integromat starting at 09:53.
Setting your automation schedule (or, how often do we want this automation to run?)

The lightning symbol will dictate how often you want the automation to run. You can choose immediately, meaning Integromat is always "on watch". You can choose every few days or you can even choose specific dates.
For this example, we're going to pick "Immediately" so Integromat is always on watch, and will create the drafted email we're prompting as soon as our Zoom recording is processed.
Learn more about scheduling in Integromat starting at 13:14.
Testing your new Integromat scenario

To test this example, we need to create a quick Zoom recording, start and stop the recording and then wait for it to process. (Make sure the "on" switch is toggled on in the bottom left corner!)
Watch Layla run this example test here starting at 13:58.
Formatting date, and other advanced formatting options

Once you've gone through your automation, you can see where problems arise. It always takes a little trial and error to hammer out all the details, but once you do the work on the front end you're done!
One of the errors we found in this automation is related to the date format. Once we picked the date again, we went to "advanced formatting options" and adjusted the new format to the more common "MM/DD/YY".
We ran a second test run -- and voila! Our dynamic date field is now formatting correctly!
Congratulations! You now have a completed Integromat scenario!
Now that you've set up your first Integromat scenario, you can build it out to include any other action steps you want to automate. Maybe you want it to download your Zoom recording. Maybe you want it to create a folder in Google Drive. Maybe you want to create a task in ClickUp that reminds you to complete this draft we just created. The possibilities are endless!
Adding filters in your workflow

See that little wrench icon? That's where you can create filters and add notes.
For example, you could only have Zoom send a recording link when the duration is over one minute.
If something doesn't meet that filter, the automation doesn't pass the filter and stops flowing through the new automated workflow you created. If you set up a ton of different automations, this can help you tell the difference between all of them.
It might take some trial and error to figure out how to set these up and make sure everything works exactly how you want it to.
Use our affiliate link and get a free month trial of their fancy-schmancy Standard Plan!


IF YOU'RE NOT SURE WHERE TO START, TRY