
Software Selection & Tutorials
How to Supercharge SmartSuite With Ply
This post may contain affiliate links which may compensate us at no cost to you. See details here.
We talk a lot about work management solutions on the ProcessDriven YouTube channel. This flexible software that combines powerful data organization with task lists and other productivity tools li
We talk a lot about work management solutions on the ProcessDriven YouTube channel. This flexible software that combines powerful data organization with task lists and other productivity tools like automation simplifies day-to-day business operations, making them more efficient and pleasant.
This is especially true when it comes to SmartSuite. Not only do we use SmartSuite to help systemize some of our many business processes, but we’ll admit that every time we customize an icon, add emoji, or make pretty rainbow task lists, it gives us a little thrill. It’s definitely one of the more esthetically pleasing platforms.
Imagine how excited we were when SmartSuite partnered with Ply.io to offer even more customization options! Ply allows users to build workflows using buttons and interactive UI elements seamlessly blending into the SmartSuite interface. These buttons and elements can create new records or update existing ones, or when clicked, perform actions in other products.
This post contains affiliate links or sponsored content for which we may receive compensation. For details, view our Terms & Conditions.
SmartSuite – Not Just Another Pretty Face
In this video, ProcessDriven CEO Layla Pomper demonstrates two ways we’re using SmartSuite and Ply together and shows you how to get started creating your own custom integrations.
One of the first Ply integrations we set up was inside our help desk solution (timestamp 02:35). Now when we receive a new member support request, one button click initiates a prompt asking us, the humans, what missing information we need to move forward with a resolution. After we type in the question(s) we have for the user, a draft email is automatically generated using OpenAI. It’s ready to copy and send!
Another useful Ply integration helps with processing time-off requests (timestamp 05:05). Once again, all it takes is a single click of a custom button created with Ply to add approved requests to our company calendar. This automation works by pulling contextual information from a SmartSuite Record and eliminates the need to create new calendar entries manually. Sounds intriguing, right?
Those are just two ways we benefit from the SmartSuite-Ply integration, but the possibilities are practically limitless. So how do you start creating custom buttons, UI elements, and automations? Keep reading to find out!
Getting Started with Ply
You can dive into personalizing your SmartSuite experience with Ply with just a few easy steps (timestamp 06:15).
Step 1: First, you’ll need to have both a SmartSuite and Ply account. Luckily, you can get both for free (and support the ProcessDriven channel!) by using our affiliate links above. Once you set up your accounts, you can follow along with the rest of the tutorial.
Pro tip: Ply is currently available for Chrome and free for a limited time while beta testing. Sign up now and get in on the ground floor before the price increases and get notified when new browser extensions are available!
Step 2: Install the Ply Chrome Extension (timestamp 06:58).
Step 3: Click the New Features button in the Ply window.
Step 4: Choose Add-Ons in the first tab labeled Internal.
Step 5: Search for SmartSuite and click the program to create a new Add-On.
Step 6: Follow the prompts to connect to your SmartSuite account.
Pro tip: You’ll need your SmartSuite API key and Workspace ID for the one-time setup. If you’re unsure where to locate these, Layla covers it in the video (timestamp 08:40).
Step 7: Choose an Element and add Context (timestamp 10:40).
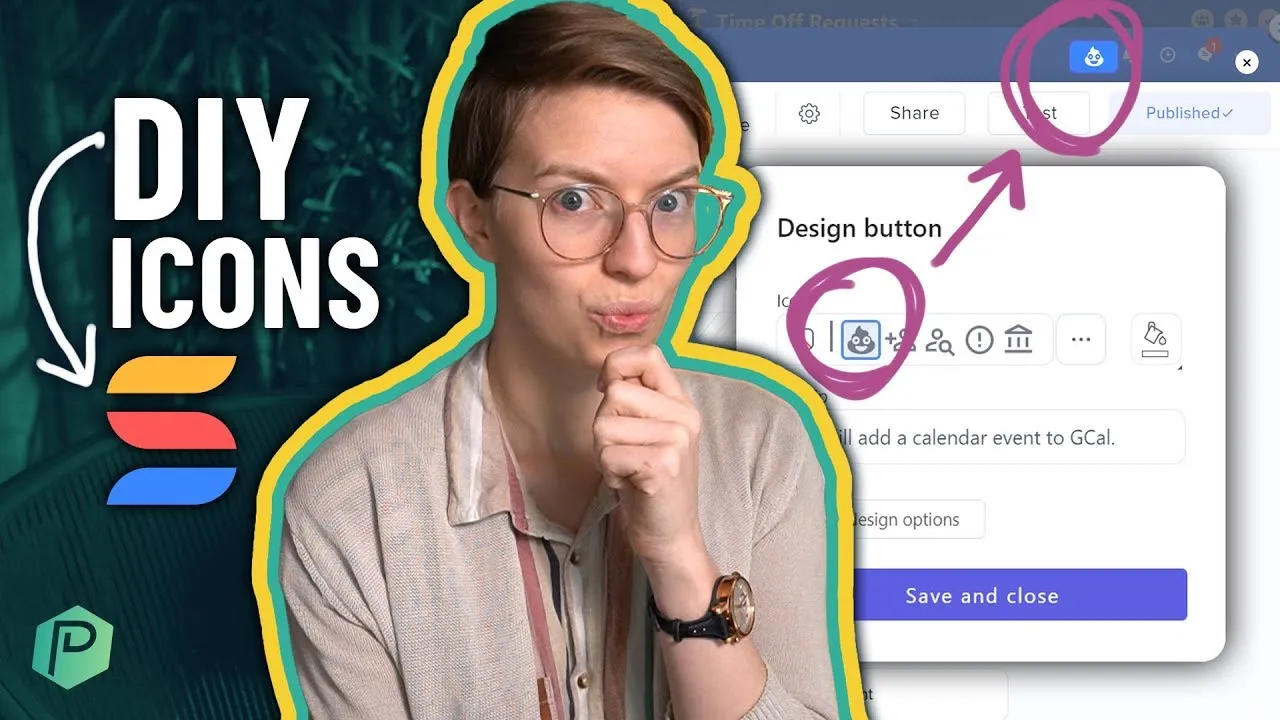
Step 8: Go into SmartSuite, open a Record, and create your Button (timestamp 11:40).
Step 9: Edit the Button design (timestamp 12:25).
Step 10: Edit the Button feature (timestamp 13:20).
Hit the plus (+) button to add a new App and Action.
Type the App you’re looking for in the search bar (example: Google Calendar) under Add New Step.
Choose the corresponding Action you want to set up (example: quick add an event).
Set up the App connection (timestamp 15:20).
Click Continue and further define the Action (example: choose the calendar where you want the event created and what information to create the event with).
Test your new Button (timestamp 18:50).
Click Publish to make your Button live.
Step 11: Share your Buttons with team members (timestamp 19:50).
Using these steps and the vast number of integrated Apps, you can create almost infinite sequences and automations. Whether drafting emails, adding calendar entries, or updating SmartSuite Records, there are simply too many possibilities to list.
We hope you enjoyed this video tutorial. If you have questions about the SmartSuite-Ply partnership and how to best use this free (did we mention it’s FREE?!) beta, be sure to leave us a comment on our YouTube channel. You may even inspire future content!
If you’d like to work with us on migrating to SmartSuite and making the most of your systems and business processes, considering joining our signature training program.
Until next time, enjoy the process!


IF YOU'RE NOT SURE WHERE TO START, TRY