
Software Selection & Tutorials
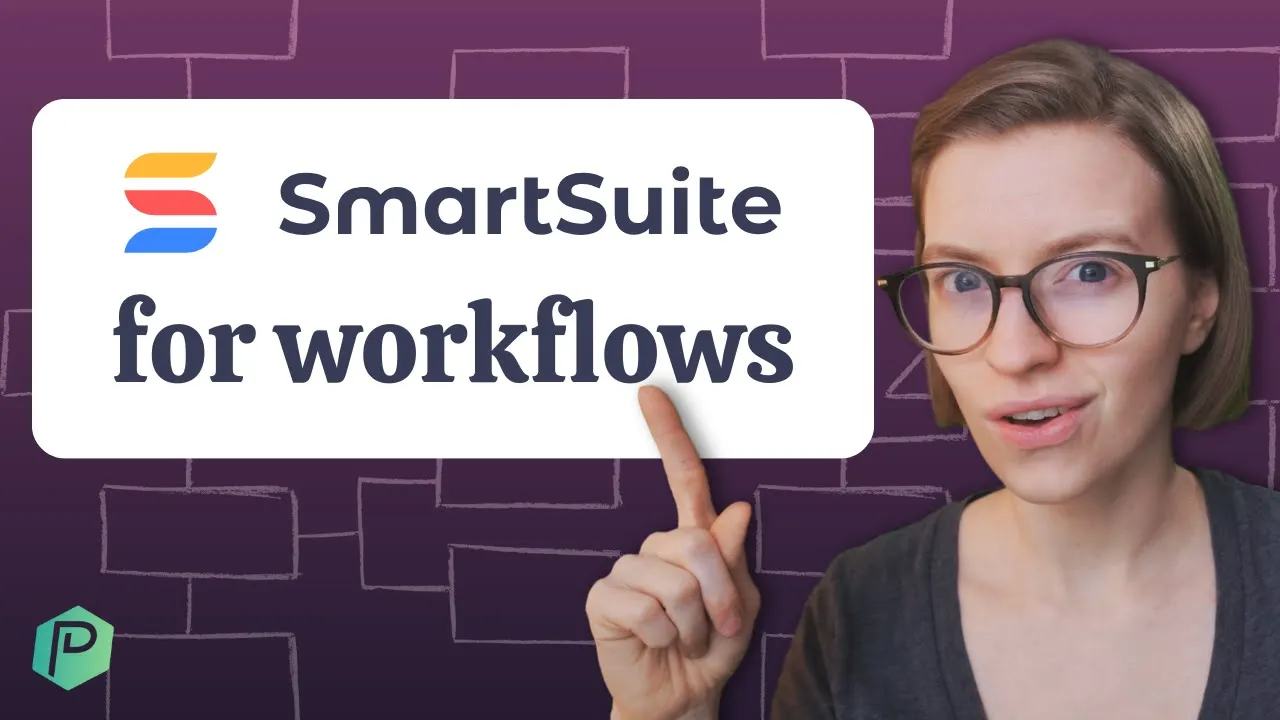
How to Document a Process in SmartSuite for Easy Delegation
Wednesday, April 12, 2023
This post may contain affiliate links which may compensate us at no cost to you. See details here.
All businesses require processes to operate. They vary depending on your business type, industry, and preferred work style. Documenting these processes in Standard Operating Procedures (SOPs) not only
All businesses require processes to operate. They vary depending on your business type, industry, and preferred work style. Documenting these processes in Standard Operating Procedures (SOPs) not only transfers essential knowledge out of your head but enables you to bring on temporary or permanent team members to take over specific tasks and free up time for other things.
To refresh, a process is a series of activities or steps to achieve a defined goal, while an SOP is the instructions for executing said task or process.
In today’s video, ProcessDriven CEO Layla Pomper walks us through how to document a process using the flexible work management solution SmartSuite, so you can replicate, automate, and delegate the vital tasks that keep your business running.
If you want to follow along with the video tutorial and don’t already have a SmartSuite account, you can sign up for free (and support our content) by using our affiliate link.
Let’s get started!
This post contains affiliate links or sponsored content for which we may receive compensation. For details, visit our Terms & Conditions page.
5 Steps to Process Documentation Using SmartSuite
1. Determine where you want to build your process (timestamp 01:00).
If you’re just starting in SmartSuite, you may want to begin with a general Solution, a catch-all for your business processes and tasks. However, as you advance and build things out, specialized Solutions may work better to keep things organized.
These specialty builds might be for operational areas like marketing, accounting, or human resources -- whatever processes or departments you feel the need to break out. For demonstration purposes, Layla uses content marketing as her specialty area and applies a SmartSuite Template aptly named Content Marketing as her starting point (timestamp 02:15).
Pro tip: SmartSuite has an extensive free Template Library. To get started, choose Add New Solution > Start with Template and search by keyword. Once you find a Template that suits your needs, it’s easy to customize by adding, deleting, and modifying Fields.
2. Outline your process (timestamp 02:40).
Before you can begin documenting your process, you must ensure you’re clear about what that process entails. This could look like an outline, flow chart, or numbered list of ordered steps.
Our content marketing example includes four phases, each with several sub-tasks. For example, the planning phase or milestone might include reviewing team topic suggestions, performing SEO keyword research, or brainstorming on a mind map.
Whatever your process is for each stage, be sure to capture it in as much detail as possible, so nothing is overlooked when we transfer this knowledge to SmartSuite.
3. Organize the process in SmartSuite (timestamp 04:15).
There are four primary options for organizing your process in SmartSuite.

Save this chart to quickly reference the pros and cons of each option in the future.
Option 1: Sub-Items
Option 2: Checklists
Option 3: Field(s)
Option 4: Linked Records
If you’re unsure which is best for your process, Layla breaks down each option and why you might choose one over the other depending on the phase (timestamp 06:30).
4. Create a central SOP database (timestamp 17:15).
As mentioned above, SOPs are the instructions for completing a process. Keeping SOPs in a central location where team members can easily refer to them as needed can go a long way to cutting down on back-and-forth communication and questions.
You can create a SmartSuite App inside your specialized or general Solution and store each SOP as its own Record. This way, you can organize each step, add help instructions or default text, and even FAQs. See the resources below for a free SOP template to get you started!
5. Connect your processes and SOPs (timestamp 19:00).
If you’ve followed the tutorial, you should have two Apps inside the Content Management Solution. We can connect them in a few ways so that anyone following the process has immediate access to information and instructions on completing it.

Save this chart to quickly reference the pros and cons of each option in the future.
Option 1: Paste a link to the SOP using a URL Field.
Option 2: Linking to the SOP Record using Linked Record Fields.
Option 3: Add Help Text to direct the user to the proper SOP.
Option 4: Use a SmartDoc Field to add hyperlinks to SOPs.
Option 5: Add a Checklist with SOP links.
Be sure to view the video if you’d like an overview of each option’s pros and cons.
Documenting your business processes through SOPs is a fantastic way to transfer knowledge, professionally onboard new employees, increase productivity, and ensure operational consistency and compliance. Doing so in SmartSuite also makes it easy to update and add new processes as your business evolves.
If you enjoyed this video, please visit the ProcessDriven YouTube channel for even more technology tutorials, productivity tips, and business hacks to keep your small business running smoothly.
Don’t forget to sign up for your free SmartSuite account using our affiliate link and show a little love to today’s sponsor.
Until next time, enjoy the process!


IF YOU'RE NOT SURE WHERE TO START, TRY