

Grow your small team without burning out
Grow your small team
without burning out
Get the proven strategies trusted by 20K+ small businesses to systemize operations using tasks, SOPs, and software.
Get the proven strategies trusted by 20K+ small businesses to systemize operations using tasks, SOPs, and software.
8
Years systemizing
Years systemizing
2,100+
Small teams transformed
Small teams transformed
3,800+
Clients trained in work management skills
Clients trained in work management skills

Philipp O. Stracker
Philipp O. Stracker

"Finally, I understand my own business!”


Grow your small team without burning out
Get the proven strategies trusted by 20K+ small businesses to systemize operations using tasks, SOPs, and software.
8
Years systemizing
2,100+
Small teams transformed
3,800+
Clients trained in work management skills
Philipp O. Stracker
"Finally, I understand my own business!”

Amber Lyda
Amber Lyda
“I have a multi-six figure hot mess express of a business and this course is LIFE CHANGING!"
“I have a multi-six figure hot mess express of a business and this course is LIFE CHANGING!"
“I have a multi-six figure hot mess express of a business and this course is LIFE CHANGING!"

FIND THE BEST SOLUTION FOR YOU
What support are you looking for?
What support are you looking for?

Our Signature Program
PERSONALIZED ROADMAP & COACHING
Systemize Your Business in 90 Days with Guided
Get a dedicated coach, a custom roadmap, and the support you need to finally stop fighting fires and start running a business that doesn't depend on you being the hero.
Get a dedicated coach, a custom roadmap, and the support you need to finally stop fighting fires and start running a business that doesn't depend on you being the hero.

Or click here to book a call with our team to talk it through.
Or click here to book a call with our team to talk it through.


Self-Study Course
SYSTEMIZE YOUR BUSINESS COURSE
Build a Systemized Business at Your Own Pace with Self-Study
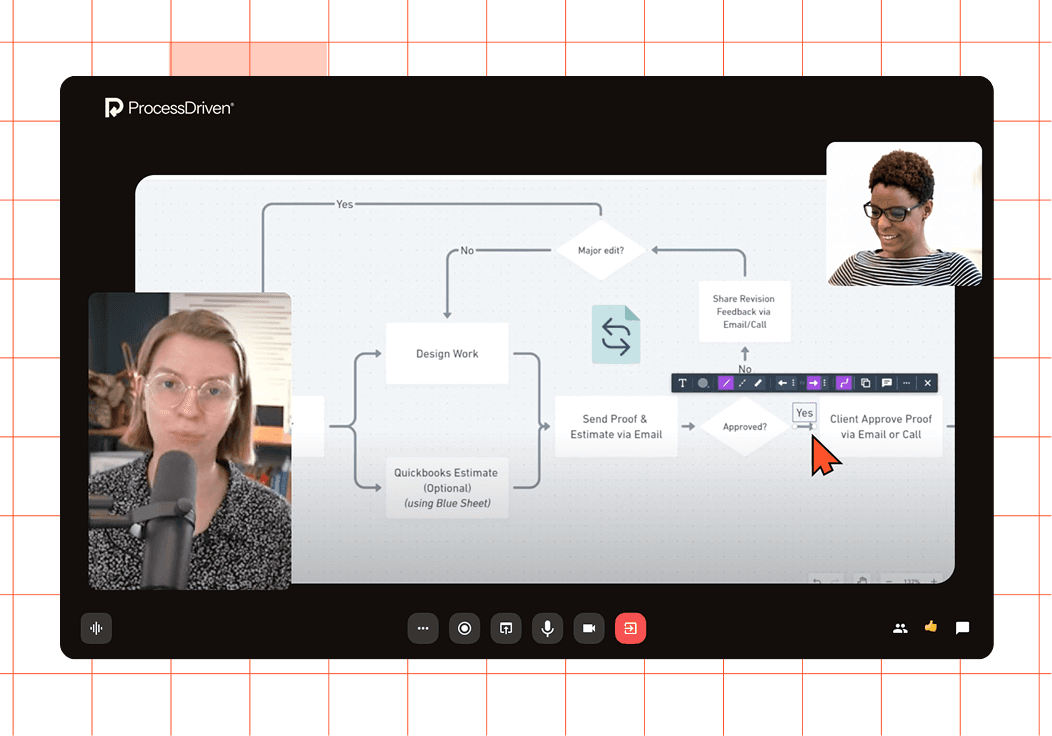
Discover why 2,100+ small teams across 50+ industries rely on ProcessDriven Foundations™ to systemize their operations.
Discover why 2,100+ small teams across 50+ industries rely on ProcessDriven Foundations™ to systemize their operations.


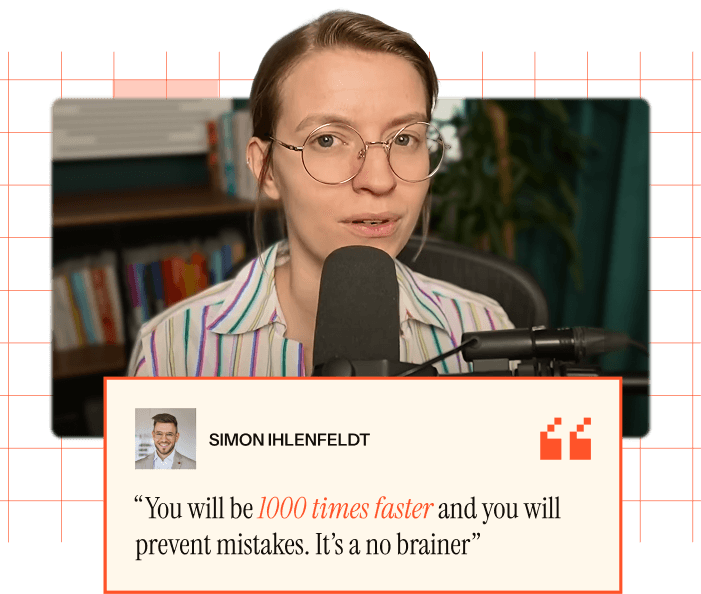
simon Ihlenfeldt
“You will be 1000 times faster and you will prevent mistakes. It’s a no brainer”
Quick Training
BEGINNER SOP WORKSHOP
Start Recording "Business Recipes"
for Delegation in SOP Swap
Learn to create lightweight instructions ("Standard Operating Procedures") that reduce stress and prevent mistakes.
Learn to create lightweight instructions ("Standard Operating Procedures") that reduce stress and prevent mistakes.

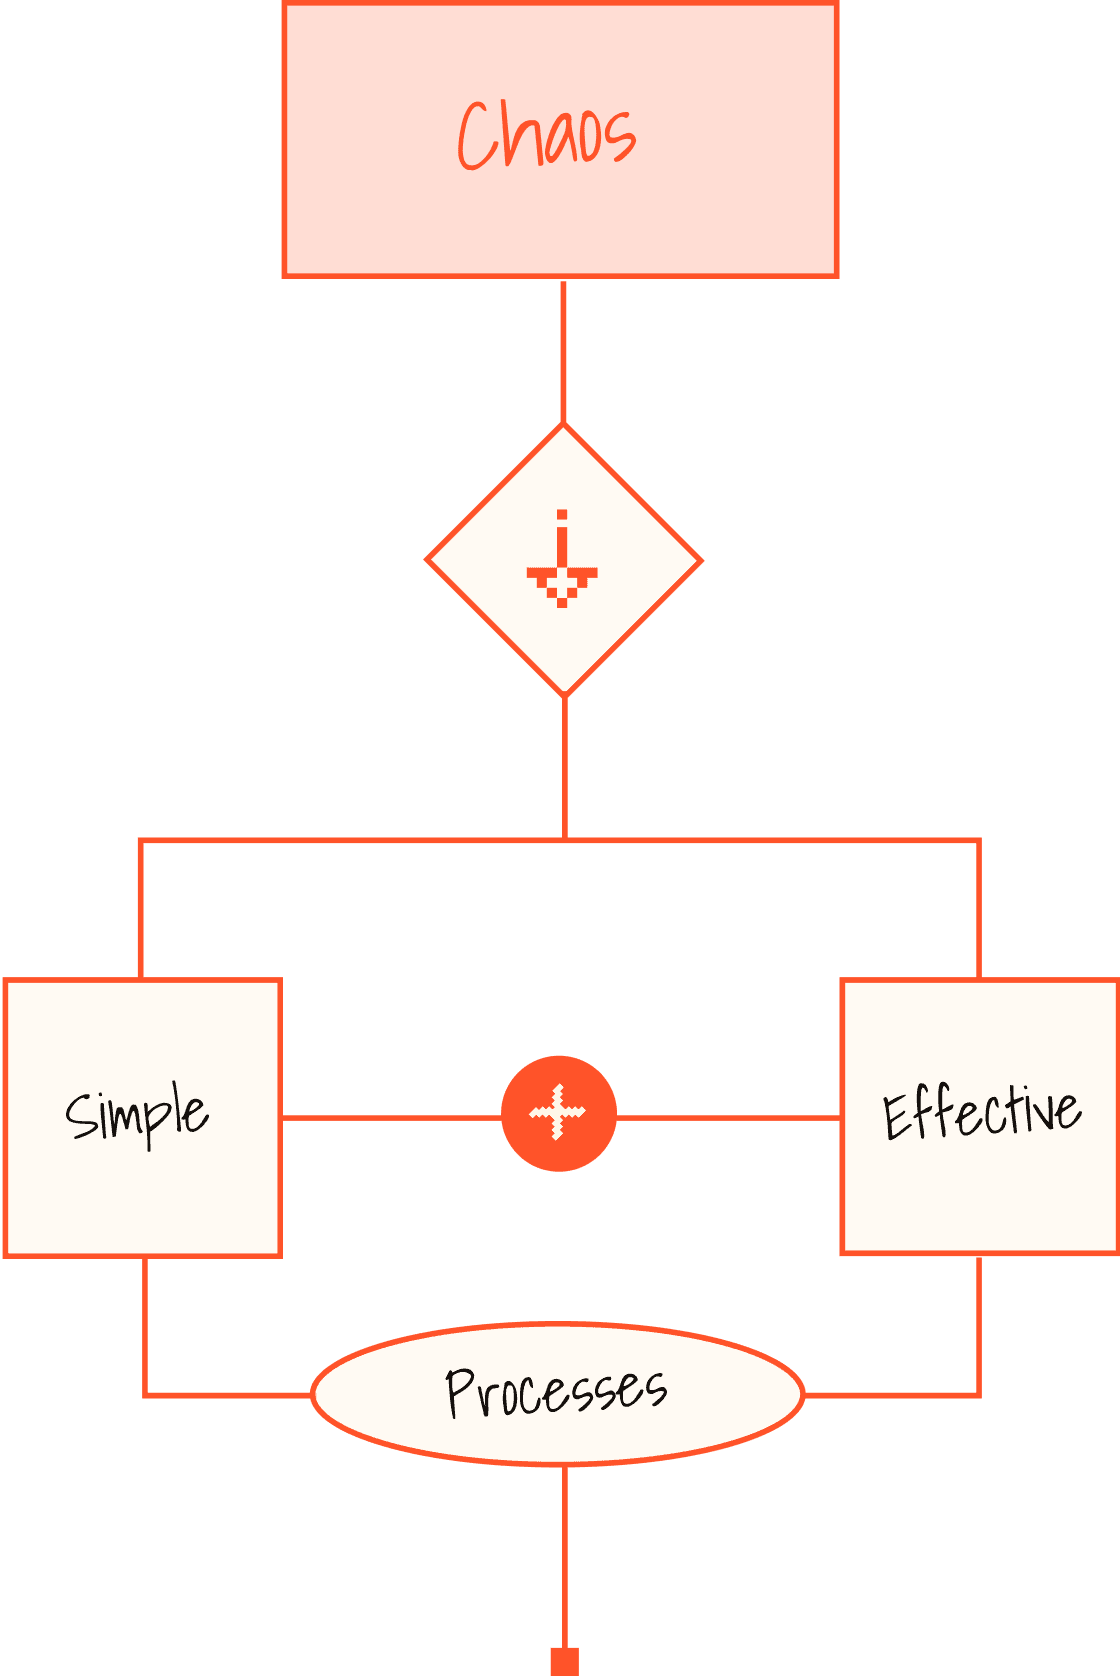
Small Teams + ProcessDriven = Enjoying the Process

Abi Paine
Abi Paine
Owner - Abi-lities Business Solutions
"…the best investment you will ever make."


Alisha Harris
Alisha Harris
Creative Director - Original Account Strategies
Creative Director - Original Account Strategies
“There’s a clear path, specific guidance, and real humans to support you. I feel so much more confident leading my business now.”
Mitch McCauley
Mitch McCauley

"Reaching Level 4 as a business owner is a complete game-changer, and having this course made is 10X easier."

Mallory Rook
Mallory Rook
Operations Manager - Devil Dog Pet Co
"ProcessDriven Foundations has given us a framework to organize our systems around and map them out clearly…
We tried lots of other programs that teach a similar framework of mapping out your systems and processes and [Foundations] has by far been the easiest to understand and implement. It helps you identify the processes and systems that are truly serving your business and the ones that are not."
We tried lots of other programs that teach a similar framework of mapping out your systems and processes and [Foundations] has by far been the easiest to understand and implement. It helps you identify the processes and systems that are truly serving your business and the ones that are not."


Small Teams + ProcessDriven = Enjoying the Process
Abi Paine
Owner - Abi-lities Business Solutions
"…the best investment you will ever make."
Alisha Harris
Creative Director - Original Account Strategies
“There’s a clear path, specific guidance, and real humans to support you. I feel so much more confident leading my business now.”
Mitch McCauley
"Reaching Level 4 as a business owner is a complete game-changer, and having this course made is 10X easier."
Mallory Rook
Operations Manager - Devil Dog Pet Co
"ProcessDriven Foundations has given us a framework to organize our systems around and map them out clearly…
We tried lots of other programs that teach a similar framework of mapping out your systems and processes and [Foundations] has by far been the easiest to understand and implement. It helps you identify the processes and systems that are truly serving your business and the ones that are not."
DON'T KNOW WHERE TO START?
DON'T KNOW WHERE TO START?
Start Here for Free
Start Here for Free
Start Here for Free

8 Years Systemizing Small Businesses Taught Me to Question This
8 Years Systemizing Small Businesses Taught Me to Question This

How to Build a Systemized Business When You Have ADHD (Or Just Really Love Change)
How to Build a Systemized Business When You Have ADHD (Or Just Really Love Change)

8 Things I Did Differently to Build a Business That Runs Without Me (In 4 Months Instead of 4 Years)
8 Things I Did Differently to Build a Business That Runs Without Me (In 4 Months Instead of 4 Years)
8 Years Systemizing Small Businesses Taught Me to Question This
How to Build a Systemized Business When You Have ADHD (Or Just Really Love Change)
8 Things I Did Differently to Build a Business That Runs Without Me (In 4 Months Instead of 4 Years)

How to Hire Freelancers for Your Small Business: A 6-Step Process That Actually Works


ABOUT US
Hi, I’m Layla
Hi, I’m Layla
As a Process Consultant and the CEO of ProcessDriven, I’ve worked with thousands of small teams who have struggled with getting “what’s in their head” into a process. (The bulky policy binders of “big business” are a recipe for disaster in teams of less than 50 people!)
As a Process Consultant and the CEO of ProcessDriven, I’ve worked with thousands of small teams who have struggled with getting “what’s in their head” into a process. (The bulky policy binders of “big business” are a recipe for disaster in teams of less than 50 people!)
ProcessDriven’s mission is to define, refine, and teach the “just enough” approach to process that will make work more enjoyable and efficient for small teams.
Together with our clients, we’re building our actionable framework into our signature program.
Together with our clients, we’re building our actionable framework into our signature program.
ABOUT OUR APPROACH
We don't just give you fish, we teach you to fish.
Our space is filled with done-for-you retainers and group programs where they get paid more if you feel confused.
We take the opposite approach. We're the only provider that turn team leaders into a wildly capable operations leaders.

ABOUT US
Hi, I’m Layla
As a Process Consultant and the CEO of ProcessDriven, I’ve worked with thousands of small teams who have struggled with getting “what’s in their head” into a process. (The bulky policy binders of “big business” are a recipe for disaster in teams of less than 50 people!)
ProcessDriven’s mission is to define, refine, and teach the “just enough” approach to process that will make work more enjoyable and efficient for small teams.
Together with our clients, we’re building our actionable framework into our signature program.
ABOUT OUR APPROACH
We don't just give you fish, we teach you to fish.
Our space is filled with done-for-you retainers and group programs where they get paid more if you feel confused.
We take the opposite approach. We're the only provider that turn team leaders into a wildly capable operations leaders.